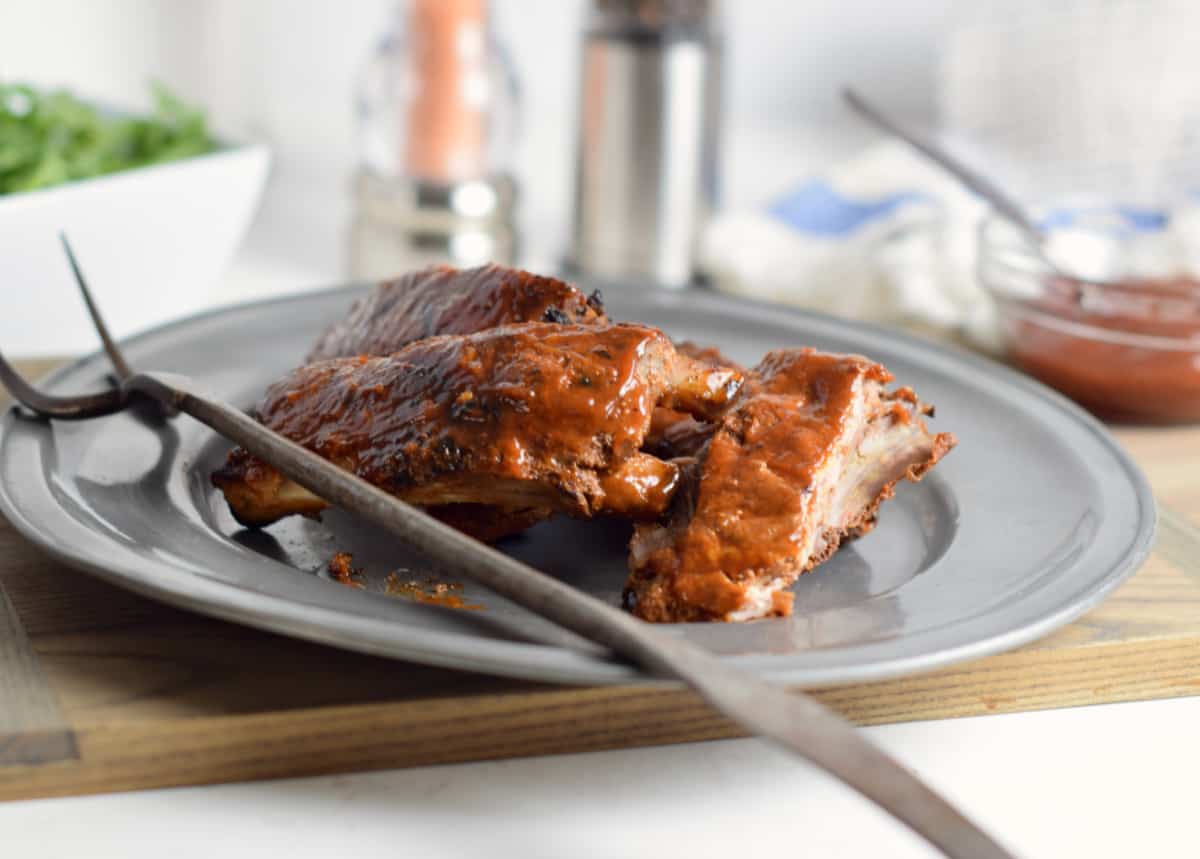
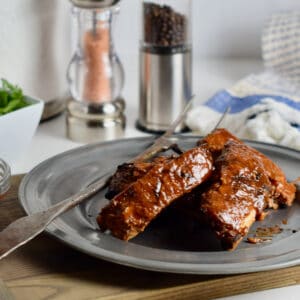
These Tender Oven-Baked Ribs with a quick grill finish give you fall-apart texture with a rich, smoky flavor—without standing over a smoker for hours. Start them low and slow in the oven, then finish on the grill for that perfect char.
The result? Ribs that are tender, flavorful, and surprisingly easy to make at home.
Why You’ll Love These Tender Oven-Baked Ribs
- Fall-apart tender, every time
Low and slow in the oven guarantees juicy, tender ribs without guesswork. - No smoker required
Get that classic rib texture and flavor right in your kitchen. - Quick grill finish for real BBQ flavor
A few minutes on the grill adds that smoky char and caramelized crust. - Easy, hands-off cooking
Once they’re in the oven, there’s very little to do. - Better than take-out (or take-home BBQ)
More flavor, less cost, and made exactly the way you like them.
Easy Make-Ahead Oven-Baked Grilled Ribs
Today I’m sharing my tried-and-true method for making ribs that will have everyone at your table asking for seconds. It’s a simple two-stage process that delivers incredibly tender, flavorful ribs every time—even if you’re new to cooking ribs.
Why I’ll Never Go Back to Direct Heat
I learned this technique the hard way.
Growing up, ribs at our house were always cooked directly over high heat. The result? Charred on the outside, tough on the inside, and a bit of a guessing game as to what was meat and what was bone.
Later, a friend suggested boiling them first, then finishing them on the grill. The ribs were more tender, but most of the flavor ended up in the water, leaving them a little…flat.
So I changed the method.
Instead of boiling, I started baking them low and slow in the oven, then finishing them on the grill.
And that’s when everything clicked.
Jump to:

The Secret to Truly Tender Ribs
Let me tell you something I’ve learned after years of cooking: truly great ribs aren’t made solely on the grill. The secret to that melt-in-your-mouth tenderness is actually in your oven.
By starting the ribs at a low temperature, you give the collagen and connective tissue time to break down into rich gelatin slowly. That’s what makes the meat tender, juicy, and full of flavor—not dry or chewy.
At the same time, the slow cooking allows the seasoning to work its way into the meat, so every bite is flavorful—not just the surface.
Finish them on the grill, and you get the best of both worlds: tender ribs from the oven and that smoky, caramelized crust from the grill.
It’s simple, reliable, and once you try it, there’s really no going back.
Tender Oven-Baked Ribs with a Quick Grill Finish
Equipment
- Rimmed baking sheet
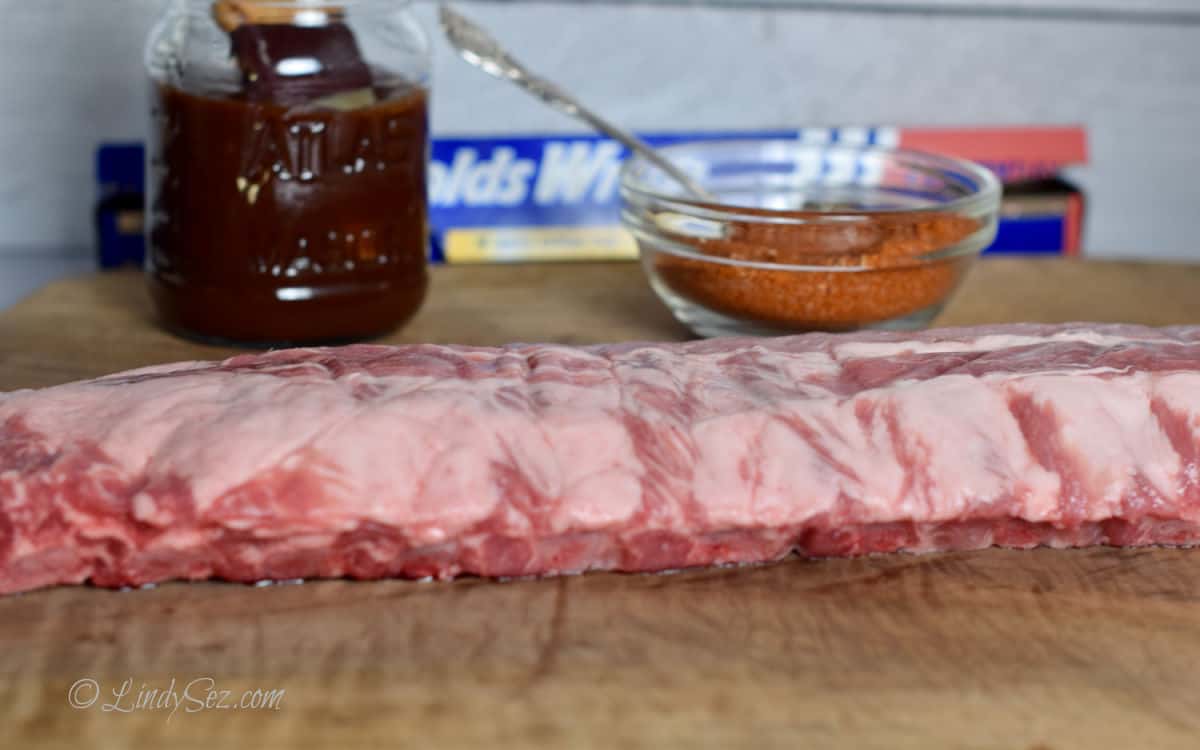
Ingredients
- 2 racks of baby back ribs or ribs of choice
- Spice Rub of your choice or Sweet and Spicy BBQ Rub for Ribs or Chicken
- BBQ Sauce of your choice or Easy No-Cook BBQ Sauce
Instructions
Prepare the Ribs
- Turn the rack over and locate the thin membrane on the back. Loosen it with your fingers, then use a paper towel to grip and pull it off. If it tears, simply grab another section and continue until removed.
Season and Wrap
- Place the rack on the center of the foil and season liberally on both sides with the seasoning mix.Bring the foil up and over the ribs, folding tightly to create a sealed, leakproof package. Repeat with the second rack.
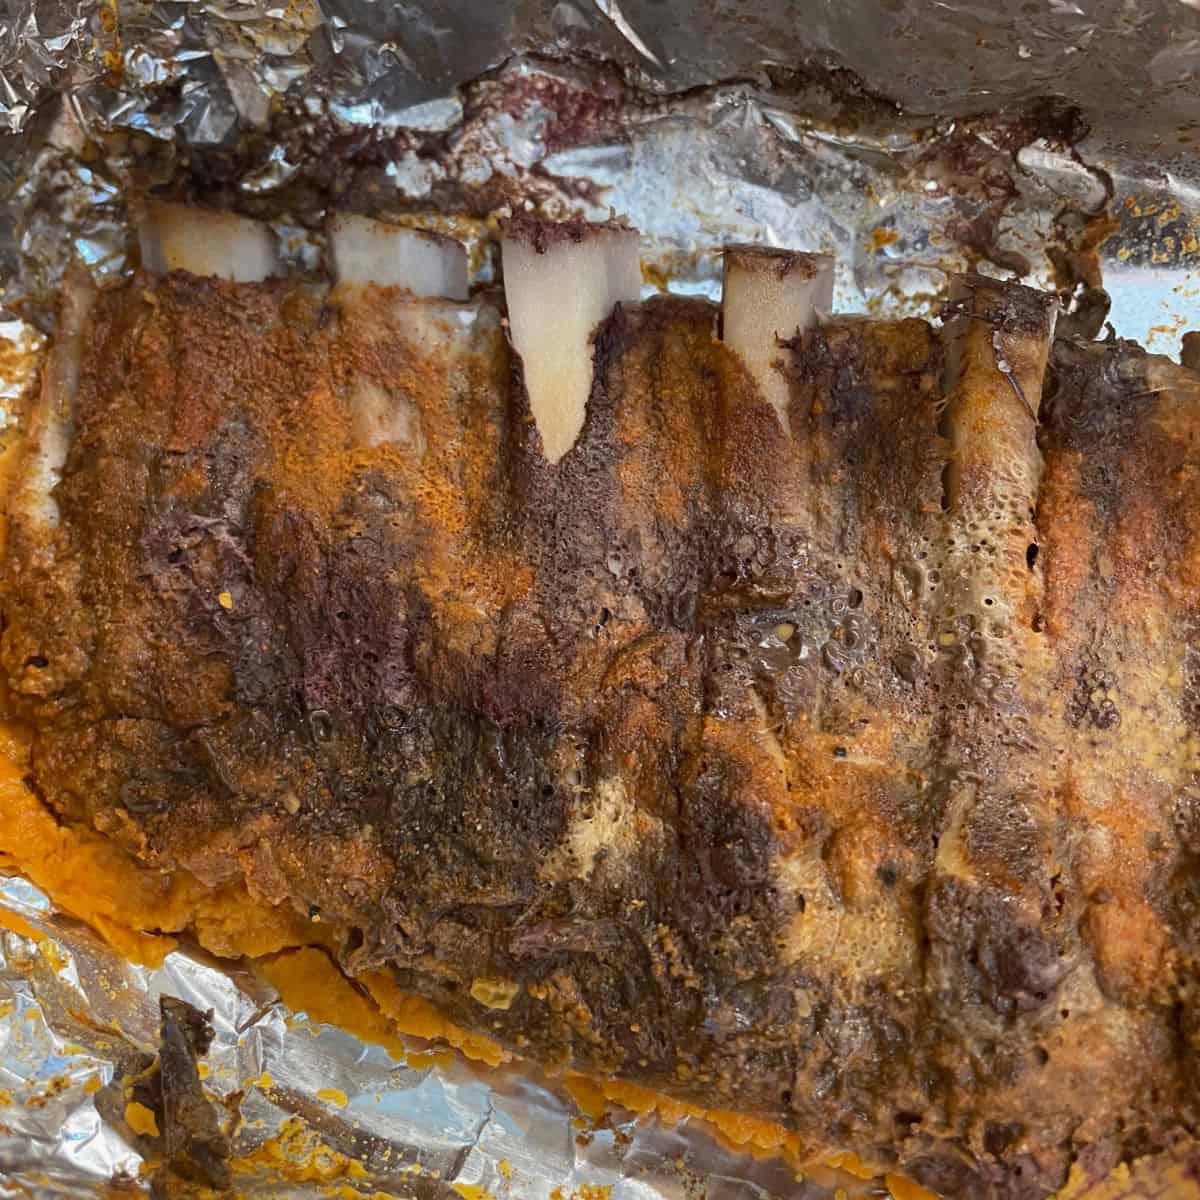
Bake Low and Slow
- Place the wrapped ribs on a rimmed baking sheet. Bake in a 325º F oven for 1 ½ to 2 hours, until tender.
Rest - Optional but Preferred
- Remove the pan from the oven and allow to cool slightly. Or refrigerate overnight.
Finish on the Grill
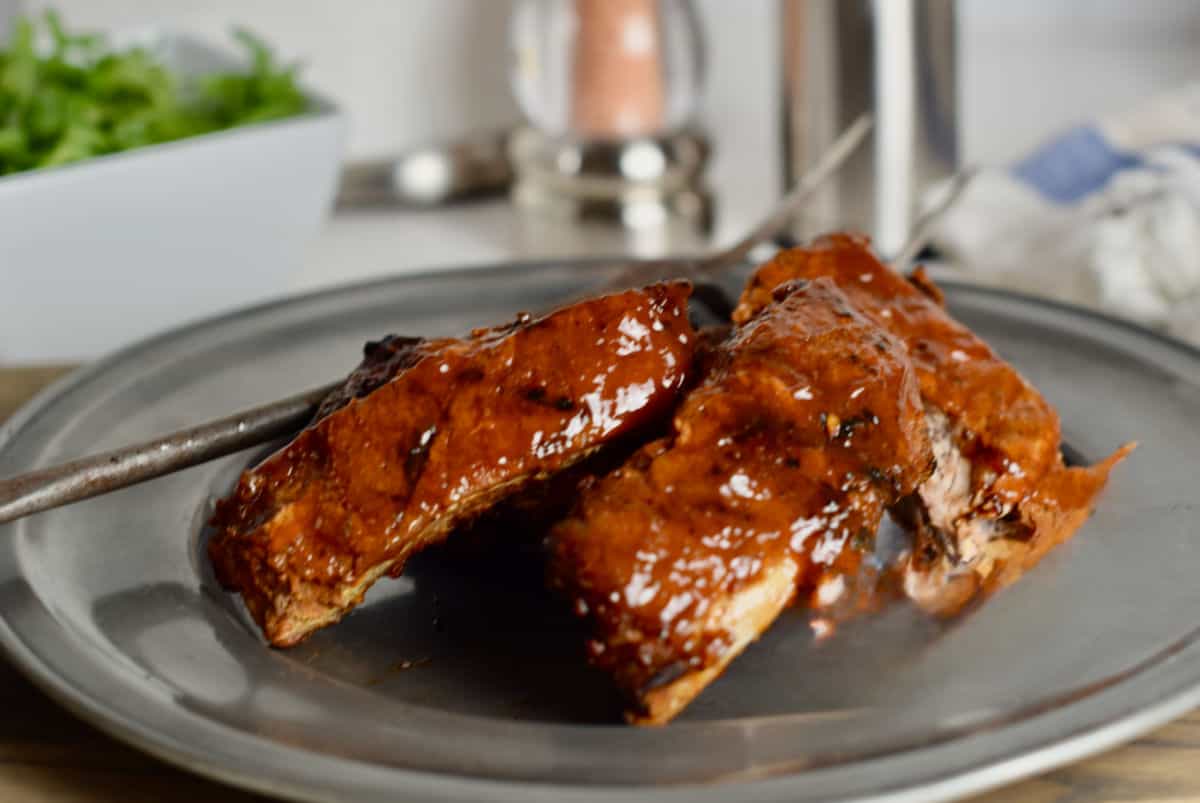
- Remove the ribs from the foil; cut into 2 – 3 rib portions, Grill over medium to medium-high heat until heated through. Brush with your favorite sauce once the ribs are hot, basting and turning a few times until lightly caramelized.
Notes
- Ribs can be baked a day ahead and finished on the grill when ready to serve
- Remove the membrane for the best texture
- Keep the foil tightly sealed to retain moisture during baking
- Sauce at the end to prevent burning
Ingredients and Why They Matter
Baby Back Ribs
Smaller, more tender, and meatier than other cuts, baby back ribs cook more evenly and are ideal for this method. Look for racks with good meat coverage and minimal exposed bone.
Sub: Spare ribs or St. Louis-style ribs work well, but will need a bit more time in the oven to become tender.
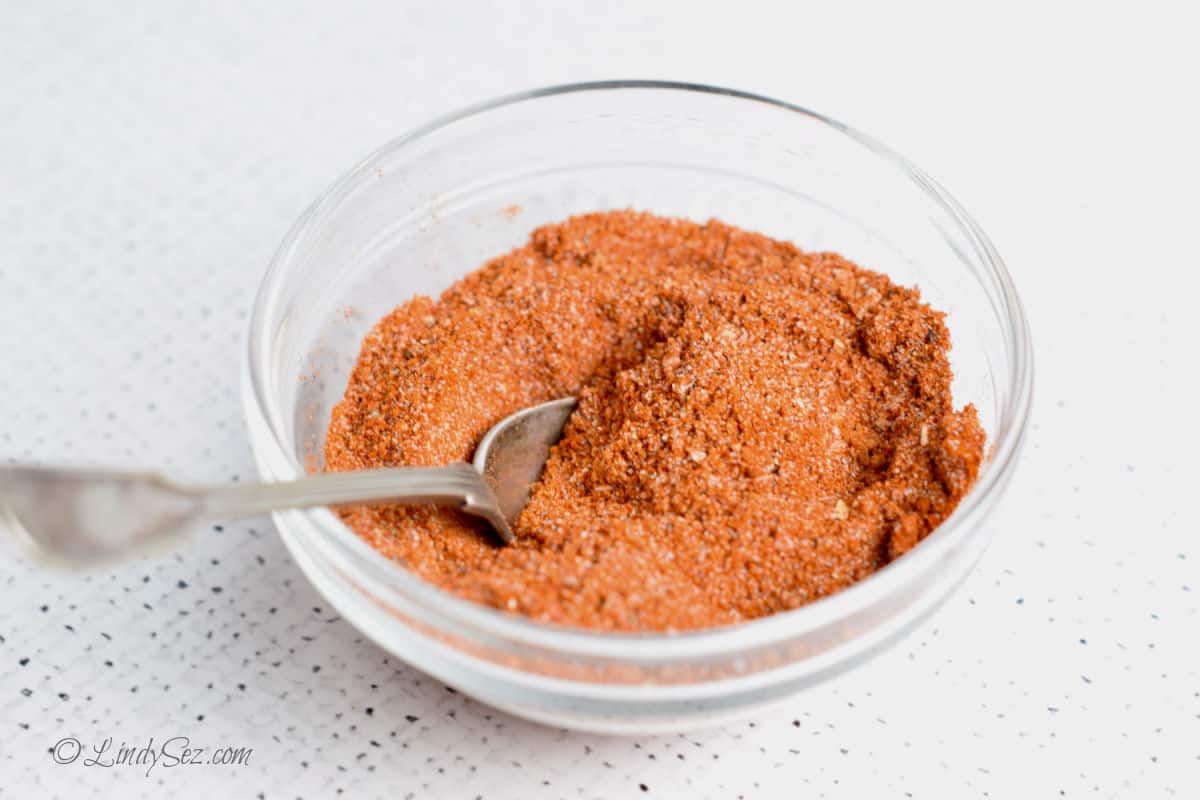
Spice Rub
This is your first layer of flavor. A good rub balances salt, sweetness, and spice, and gives the ribs depth long before the sauce is added. Be generous and coat all sides for the best results.
Sub: Use your favorite store-bought rub or try my homemade blend of sweet and spicy BBQ rub.
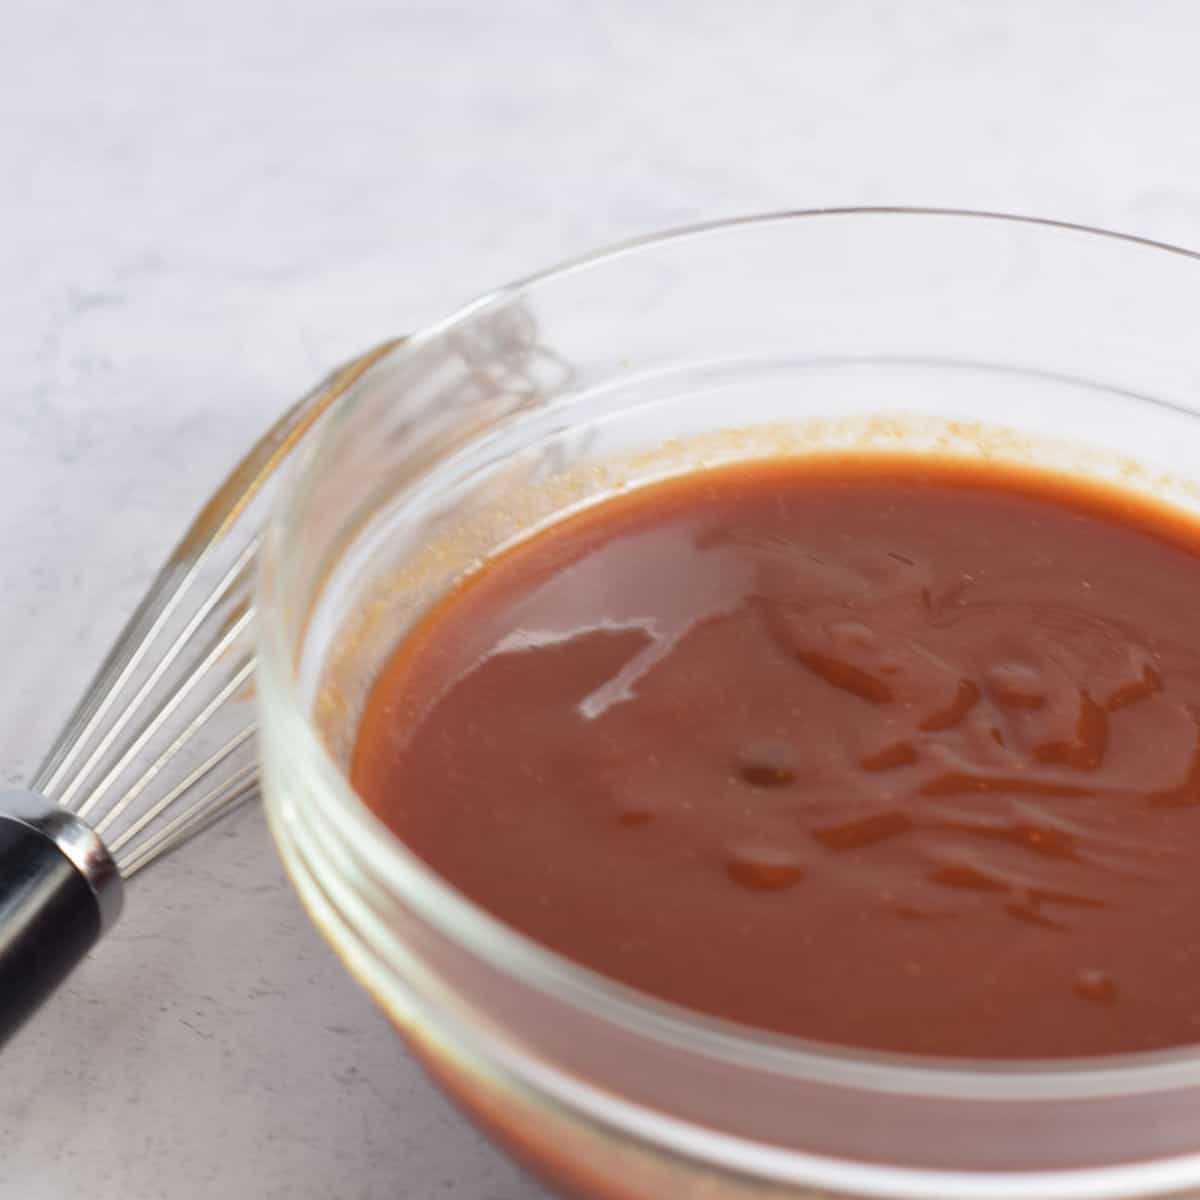
BBQ Sauce
Adds that final layer of flavor and the classic sticky finish. Since it’s applied at the end, it enhances rather than overwhelms the ribs.
Tip: If your sauce is high in sugar, watch closely on the grill to prevent burning.
Try my Copycat "Chicago for Ribs" BBQ sauce
Heavy-Duty Aluminum Foil
Essential for this method. It seals in moisture during baking, allowing the ribs to cook gently and become tender.
Sub: If using regular foil, double it to prevent leaks.
Visual Guided Instructions
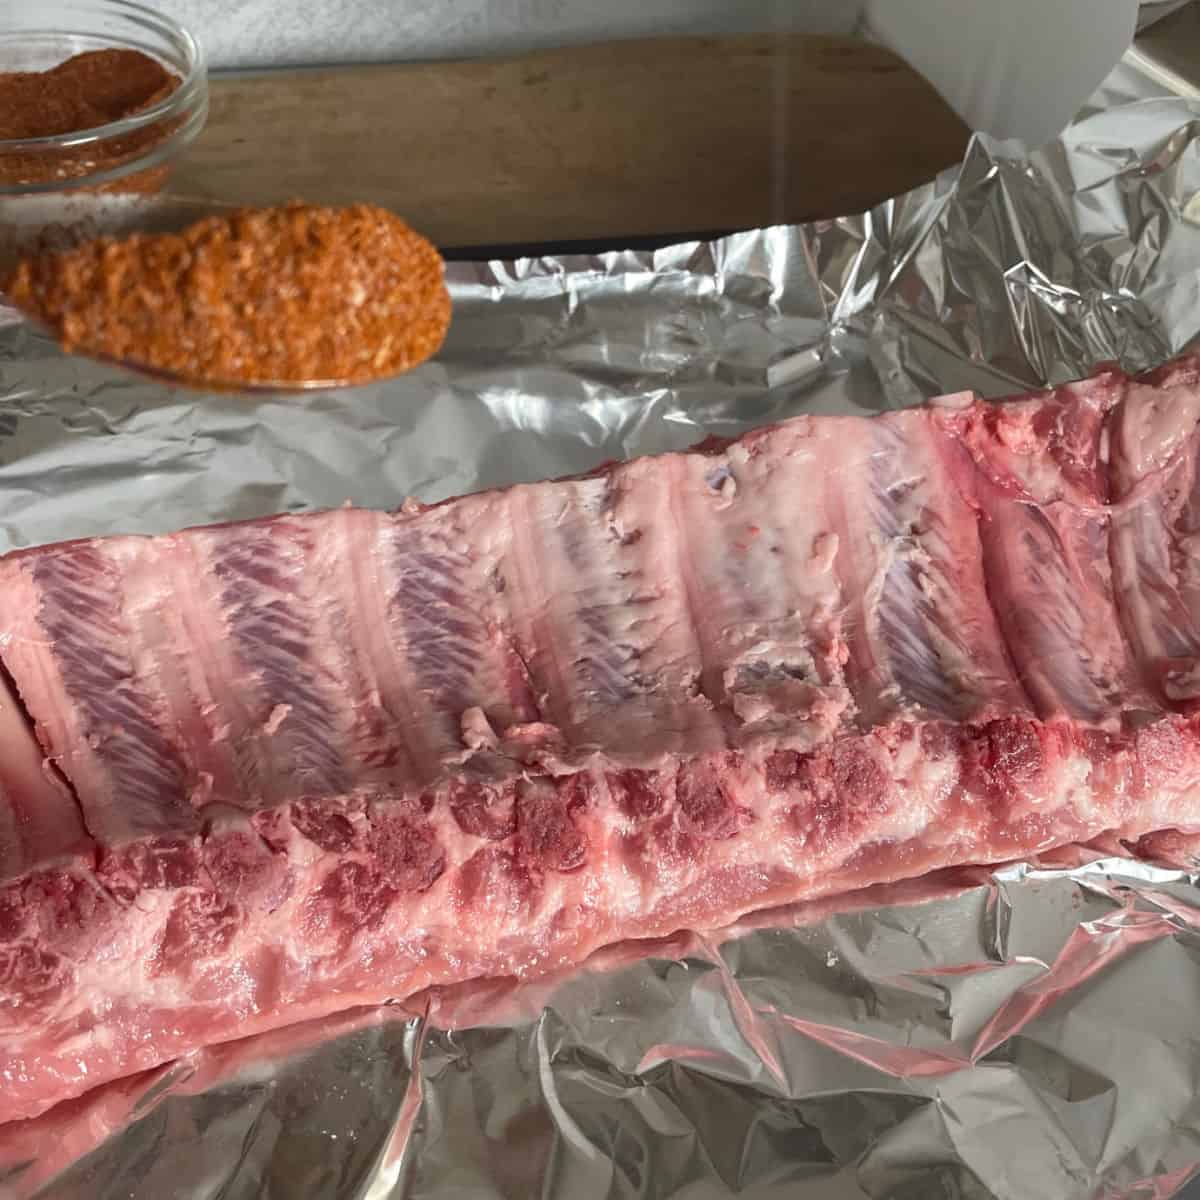
Remove the Membrane
Turn the ribs bone-side up and locate the thin membrane on the back. Loosen a corner with your fingers or a knife, then use a paper towel to grip and pull it off. This helps the ribs become more tender.
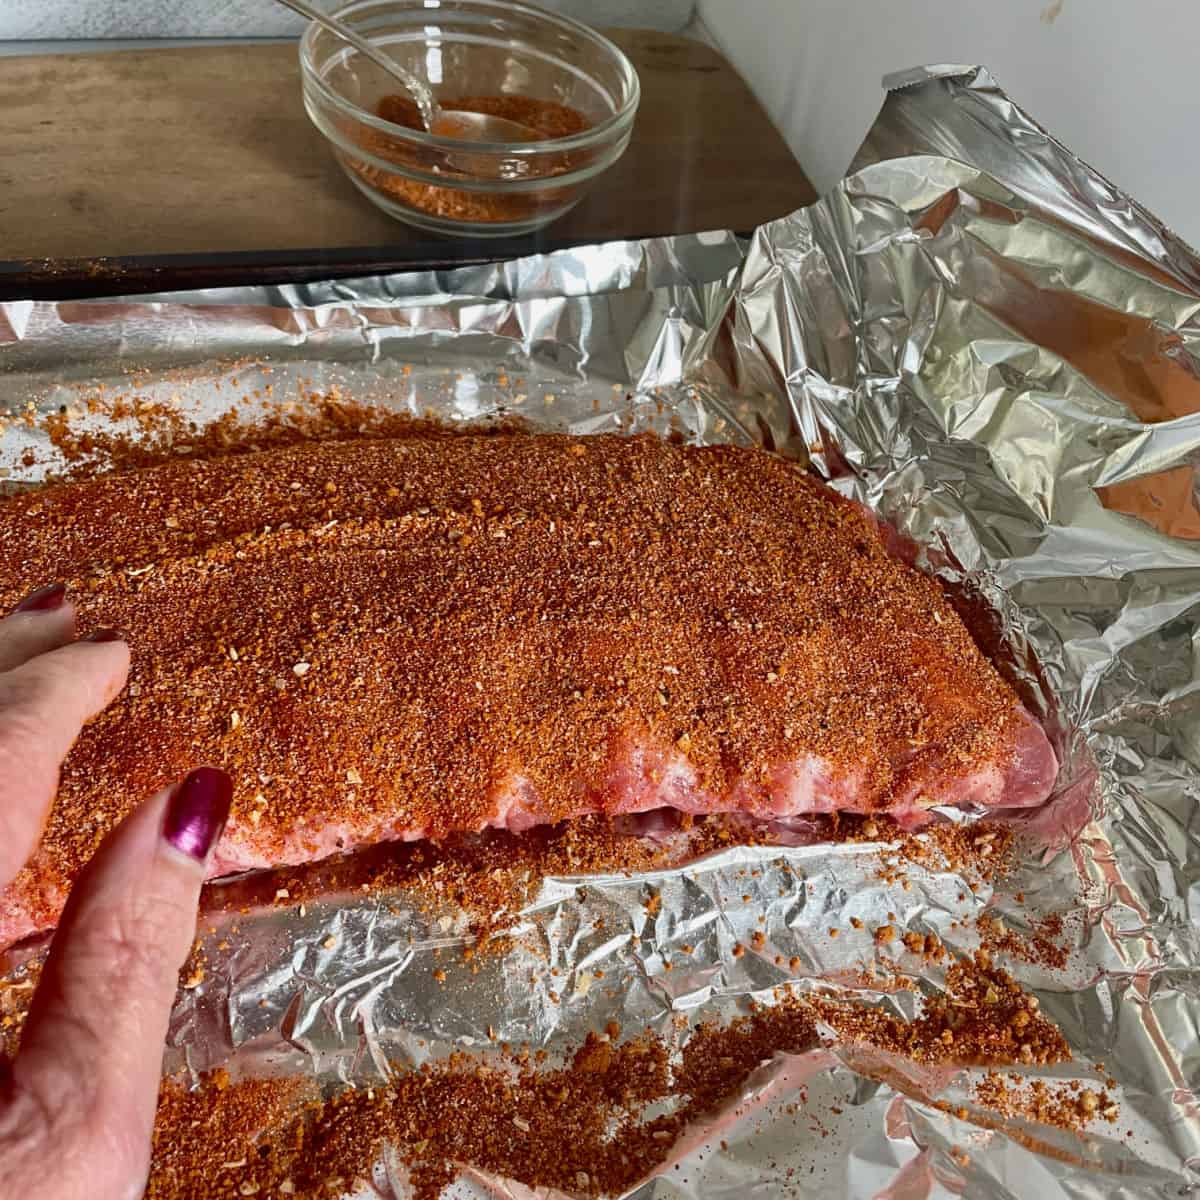
Season the Ribs
Coat both sides generously with your spice rub, pressing it into the meat so it adheres well. If you have time, let the ribs sit for about 15 minutes before wrapping.

Wrap for Baking
Place the ribs meat-side down on a large sheet of heavy-duty foil. Bring the foil up and over the ribs, folding tightly to create a sealed, leakproof package. Place seam-side up on a rimmed baking sheet.
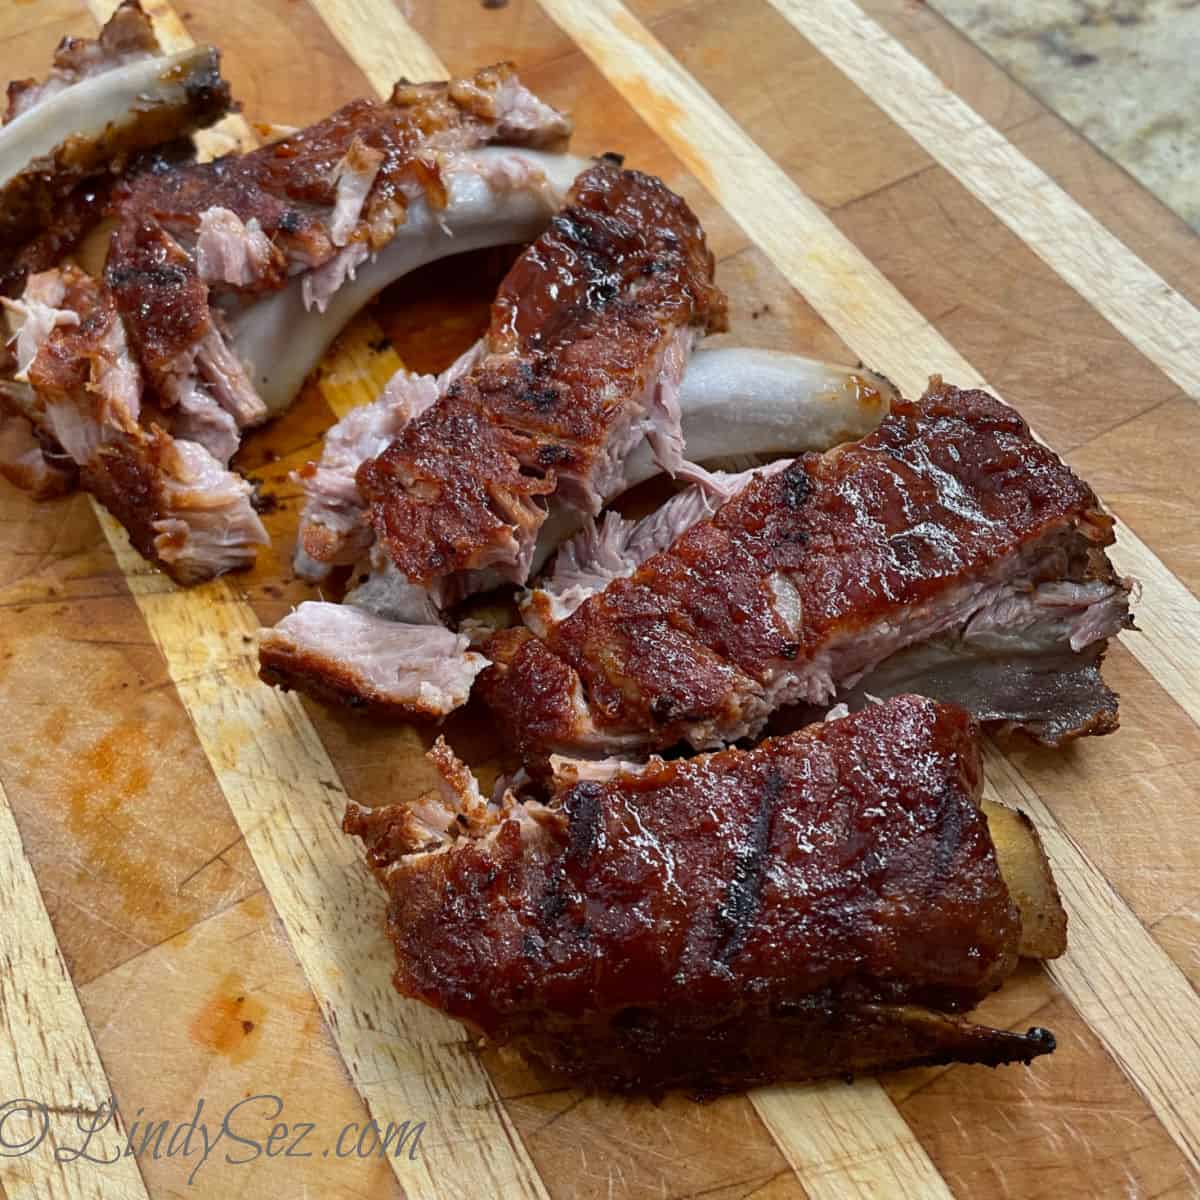
Rest and Prep for Grilling
Carefully open the foil—hot steam will escape. Remove the ribs and cut into 2–3 rib portions.
Make-ahead tip: Ribs cut more cleanly when cold. Bake ahead, cool, and refrigerate until ready to grill.
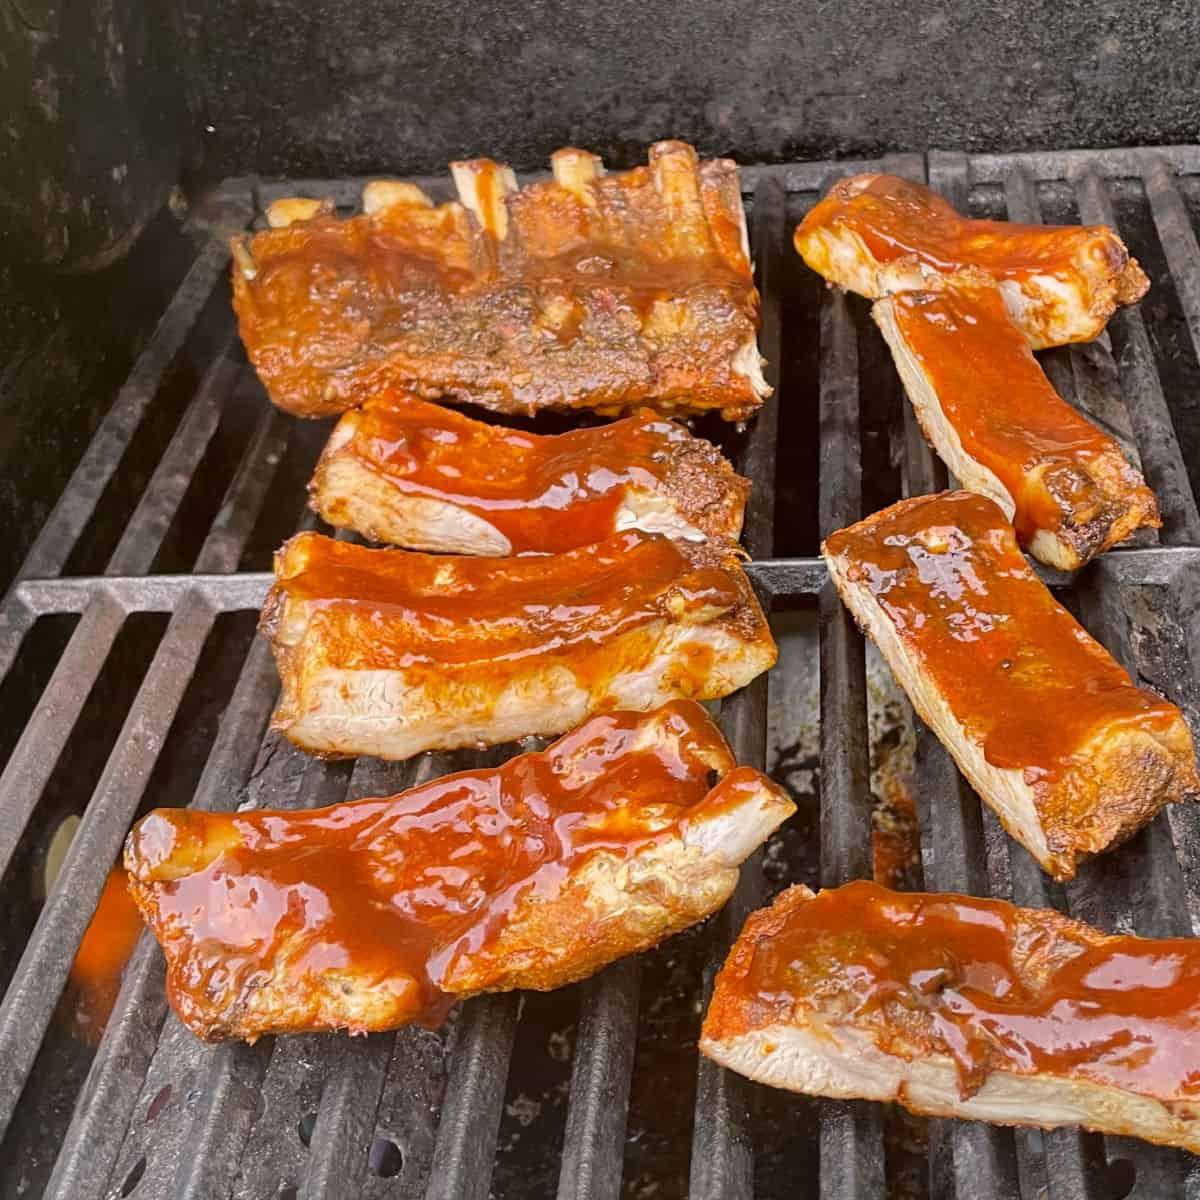
Finish on the Grill
Preheat the grill to medium-high. Grill the ribs, turning every 1–2 minutes and brushing with BBQ sauce, until heated through and lightly caramelized.
Watch closely—sauce should become sticky and glossy, not burned. This step takes about 5–10 minutes.
Variations
Add Smokiness (No Smoker Needed)
Want that classic BBQ flavor without a smoker? Add smoked paprika, smoked salt, or chipotle chili powder to your rub for a natural smoky note.
For a deeper smoke flavor, use a small amount of liquid smoke. A few drops spread over the ribs before adding the rub is all you need—go lightly, as it can quickly overpower the meat.
No Grill? No Problem
You can still get that caramelized finish in your oven.
After baking, place the ribs on a foil-lined baking sheet and brush with BBQ sauce. Position about 6 inches under the broiler and cook for 3–5 minutes, until the sauce bubbles and caramelizes.
Watch closely and rotate the pan if needed—this step happens quickly.
FAQ's
Oven-baked and grilled ribs are cooked using controlled heat, while slow-smoked ribs are cooked over low heat with wood smoke for several hours.
The result is a little different:
Oven + grill ribs (this recipe)
Tender, juicy, and reliable, with a quick caramelized finish from the grill. Faster and easier to control.
Slow-smoked ribs
Deeper smoky flavor with a more pronounced “bark” (crust), but require more time, equipment, and attention.
👉 Think of this method as the easy, at-home way to get tender ribs with great flavor, while smoked ribs are more about the full BBQ experience.
You can bake the ribs and refrigerate them, still wrapped in foil, for up to 2–3 days before finishing on the grill.
In fact, they’re often easier to cut into portions when cold, which makes prepping ahead even more convenient.
The membrane can become chewy or rubbery when cooked and also blocks seasonings from penetrating the meat. Removing it helps ensure more tender ribs and better flavor throughout.
You can use different cuts of ribs for this method—just adjust the cooking time slightly.
Baby Back Ribs
Smaller, leaner, and more tender. These cook more quickly and are ideal for this recipe.
Spare Ribs
Larger, meatier, and contain more connective tissue. They have great flavor but will need a longer baking time to become tender.
St. Louis-Style Ribs
A trimmed version of spare ribs with a more uniform shape. They cook more evenly but still benefit from a bit more time than baby backs.
Storage and Leftovers
Leftover ribs can be stored in the refrigerator for up to 4–5 days. For longer storage, freeze for up to 2–3 months.
To reheat, cover and warm in a 325°F (163°C) oven until heated through, about 20 minutes.
Lindy’s Tip:
Leftover ribs are perfect for making Easy Pork Fried Rice—one of my husband’s favorites!
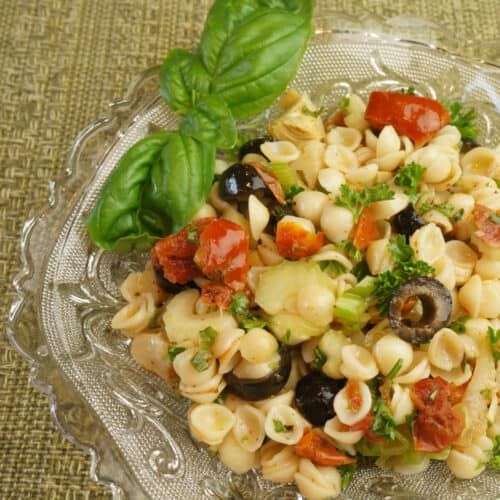
These sides go perfectly with Oven-Baked Ribs
Wine, Beer & Mocktail Pairings
Presented by WineandBites
Wine Pairings
Zinfandel - Key factors: bold fruit + spice + moderate tannin
Classic with BBQ—handles the sweetness and smoky finish without getting lost.
Syrah / Shiraz - Key factors: dark fruit + pepper + smoky notes
Echoes the grill flavors and adds depth.
Rosé (dry) - Key factors: acidity + light fruit
Cuts through the richness and refreshes between bites.
Riesling (off-dry) - Key factors: acidity + slight sweetness
Balances sweet BBQ sauce and any spice beautifully.
Beer Pairings
Amber Ale
Malty, slightly sweet—pairs perfectly with BBQ sauce and caramelization.
IPA (not too bitter)
Hops cut through the richness, but don’t go too aggressive or it will clash with the sauce.
Lager or Pilsner
Clean and crisp—always a safe, refreshing choice with ribs.
Mocktails
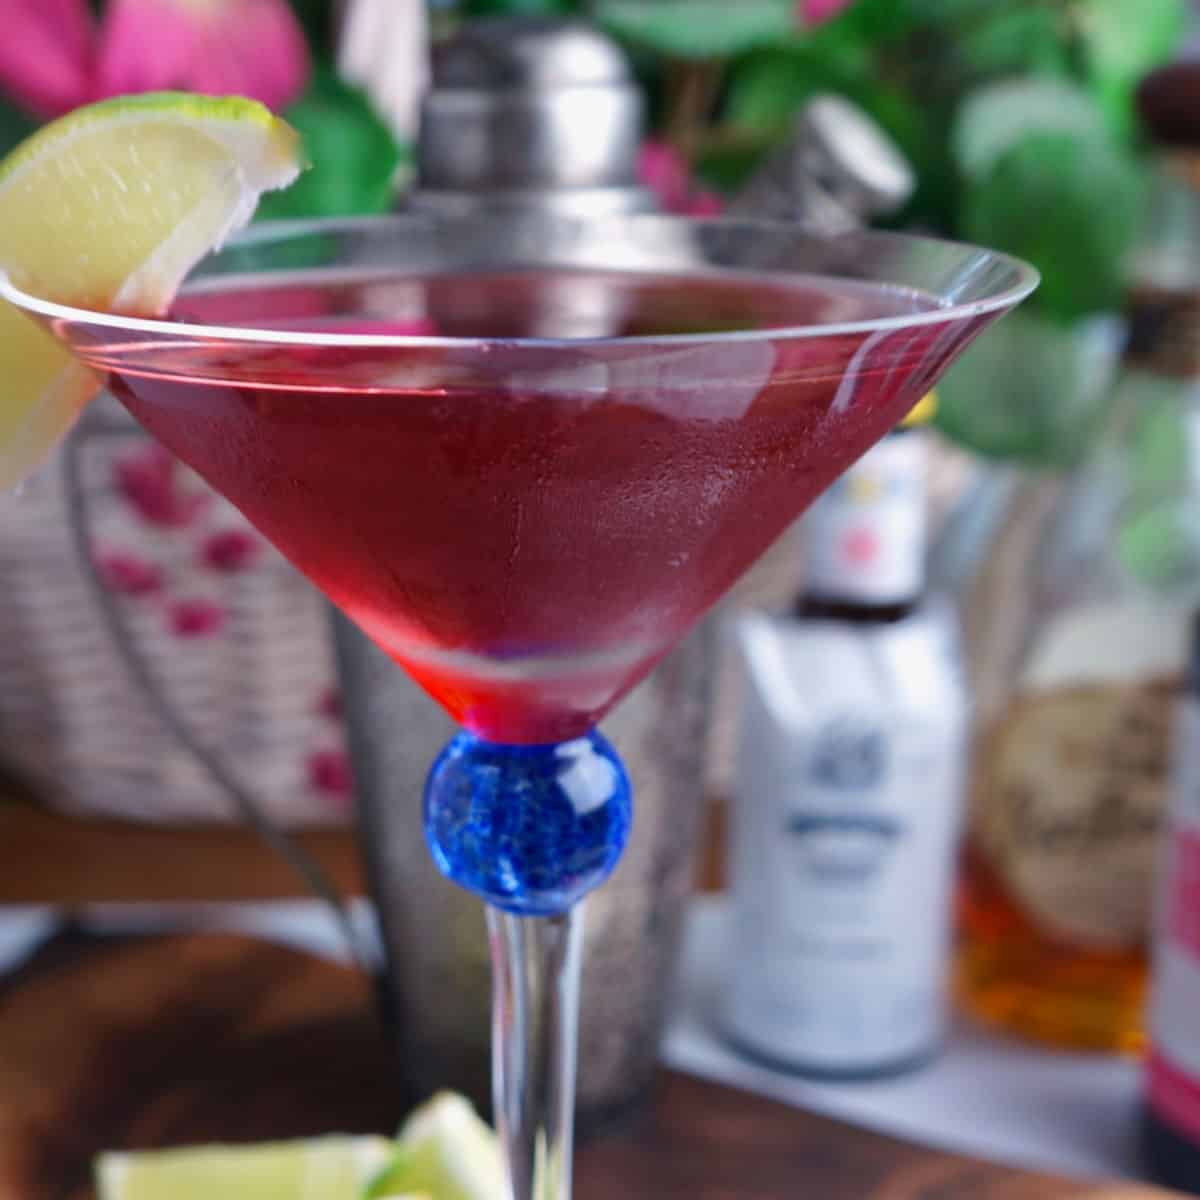
Cranberry Mint Fizz 🍹
- Cranberry juice
- Fresh lime juice
- Fresh mint
- Splash of simple syrup (optional)
- Top with sparkling water
Why it works:
Tart + bright + herbal → cuts through the fat and balances sweet BBQ
Smoky Citrus Spritz
- Orange juice
- Lime juice
- Splash of grapefruit juice
- Tiny pinch of smoked salt
- Sparkling water
Why it works:
Citrus lifts the meat, and smoked salt quietly mirrors the grill
Ginger Peach Cooler
- Peach nectar or juice
- Fresh ginger (or ginger syrup)
- Lemon juice
- Sparkling water
Why it works:
Sweet + spice + acid = perfect BBQ balance
🧠 Quick pairing rule
👉 Rich + sweet BBQ → needs acid or brightness
👉 Smoky grill → likes fruit or spice
BGH says
Never fail recipe when you don't have 3 or more hours. I find it takes a full 2 hours in the oven for full racks of pork ribs (3.5 to 4.0); also, I leave the racks uncut while finishing them on the grill (easier for me to handle them). For a rub, we like "Mitch's Fantastic BBQ Rub" (Smokenator.com) but suggest reducing the sugars by half if using a commercial BBQ sauce when finishing on the grill.
Linda Baker says
I agree with smaller baby back ribs you can make sure with 2 hours, however, the ribs Iseem to be finding anymore are more like mini-pork chops and they work best at the full 3. But it is pretty much "hands"" free. Cheers to great ribs! ~ Lindy
Dan Marino. says
A propane torch also works wonders. After the oven, torch the ribs and add sauce. And torch again until the sauce is carmelized. When I played for the Dolphins, they would cater us ribs. The chef told me this method. I would like to wish everyone a fine day.
Linda Baker says
Hi Dan, Totally makes sense as a way to get that char...Here's to great ribs, on the grill or just fired up! Cheers ~ Lindy
Justin barnes says
Definitely gonna try that method this weekend!
Linda Baker says
Please let us know how you loved them 🙂
Cher says
Oh, Linda... You have made my day!! Matt will definitely grill these for me (he just doesn't know it yet!)
G-man! says
This sounds great! I love Masterpiece BBQ sauce, but will have to give yours here a try. I do something similar and can attest... this process makes great tasting, melt-in-your-mouth ribs. Here's my spice rub...
1.5 Tbsp Onion Powder
1.5 Tbsp Garlic Powder
0.5 Tbsp Smoked Paprika
1 Tbsp Paprika
1.5 Tbsp Kosher Salt
1.5 Tbsp Coarsely Ground Pepper
1 Tbsp Red Pepper
I don't bother with the BBQ sauce it's so tasty, but may add it at some point. Also, I loosely wrap my ribs (still air tight) and throw in some aromatics (lemon slices, garlic cloves, rosemary sprigs, onion wedges) to add some depth.
One thing I've always been meaning to try is precooking in a pressure cooker, maybe using beer as the liquid. Would love to see you do something on this method if you're incline (hint hint).
Keep cooking the good meals! Love the share and the site! Thanks 🙂
LindySez says
Sound delish G-Man, I'll have to try your method...Beer braised ribs also sounds like something I could tackle...look for a future recipe...
Sean Abbott says
I am making these with a bit of personal flare. I am bringing mine. They should be great.
Linda Baker says
Personal flare is always encouraged. Baking the ribs with whatever embellishments you choose will still create a fall off the bone tender rib. Enjoy and Cheers ~ Lindy