
This Creamy Roasted Corn Soup layers roasted fresh corn, canned corn, and homemade corn broth for incredible corn flavor while using very little cream. It's the perfect first course when sweet summer corn is at its peak and can easily be made vegetarian or vegan with a few simple substitutions.

Why You'll Love This Creamy Roasted Corn Soup
- Layers incredible corn flavor by using roasted fresh corn, canned corn, and homemade corn broth.
- Creamy without being heavy. A russet potato provides most of the silky texture, so only a splash of cream is needed.
- Easy to customize. Adjust the heat with jalapeño or serrano, or make it vegetarian or vegan with a few simple swaps.
- Perfect for entertaining. Make it a day or two ahead, then simply reheat and garnish before serving.
- Summer's best in a bowl. Fresh corn at peak season shines as a light lunch or elegant first course.
- Restaurant-worthy presentation with fresh tomato, avocado, green onion, and roasted corn as colorful garnishes.
My Inspiration
I created this soup for a summer dinner party that included an Apricot Almond Brown Butter Tart for dessert. Whenever I entertain, I try to choose dishes that can be prepared ahead of time so I can actually enjoy my guests instead of spending the evening cooking.
That philosophy came from watching my mother. She always created wonderful meals, but by the time everyone sat down, she'd spent the entire day in the kitchen and was exhausted. I learned early that spreading the work over a couple of days makes entertaining far more enjoyable.
This soup is perfect for that approach. Roast the corn, make the broth, and prepare the soup ahead of time. When dinner begins, all that's left is gently reheating it and adding the fresh garnishes.
Jump to:

Creamy Roasted Corn Soup
Equipment
Ingredients
- 4 ears fresh corn, kernels removed (about 4 cups) cobs reserved
- 1 tablespoon extra virgin olive oil divided
- 1 tablespoon unsalted butter
- ½ cup chopped yellow onion
- 6 cloves garlic minced
- ½ Anaheim chili seeded and chopped
- 1 teaspoon minced jalapeno or Serrano or to taste
- 1 small russet potato, peeled and cubed
- 1 (7-ounce can) corn, drained
- 2 cups chicken stock preferably homemade or low-salt
- 2 cups corn broth see instructions
- 2 tablespoons heavy cream optional
- ½ teaspoon ground cumin or to taste
- Kosher salt and freshly ground pepper to taste
Garnish
- 1 roma tomato seeded and finely diced
- 2 green onions thinly sliced
- ½ cup avocado diced
- ½ cup reserved roasted corn
Instructions
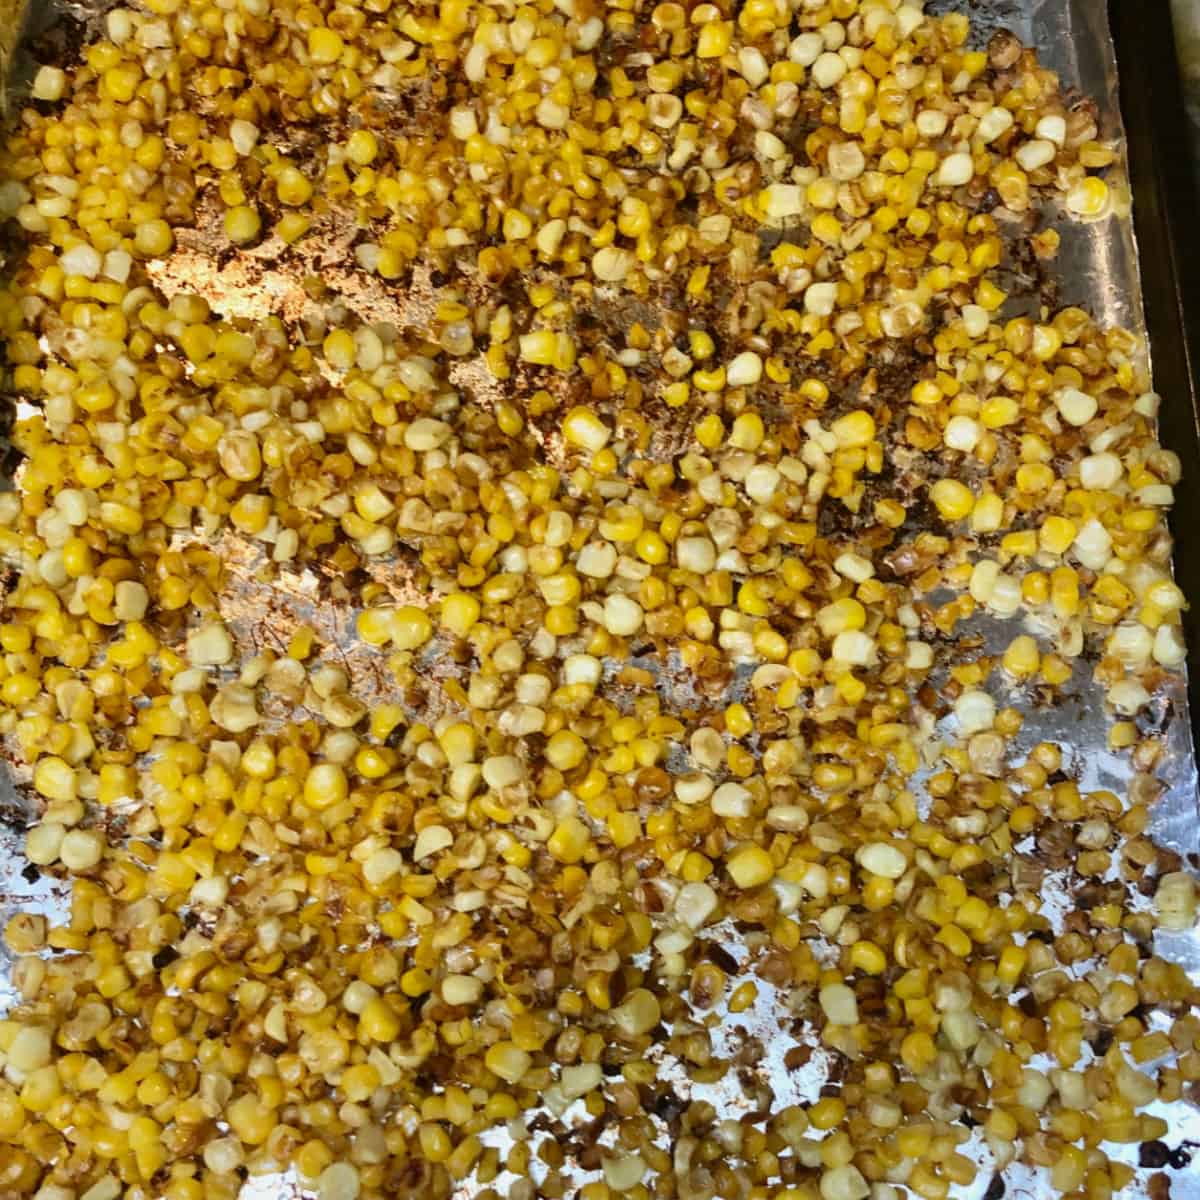
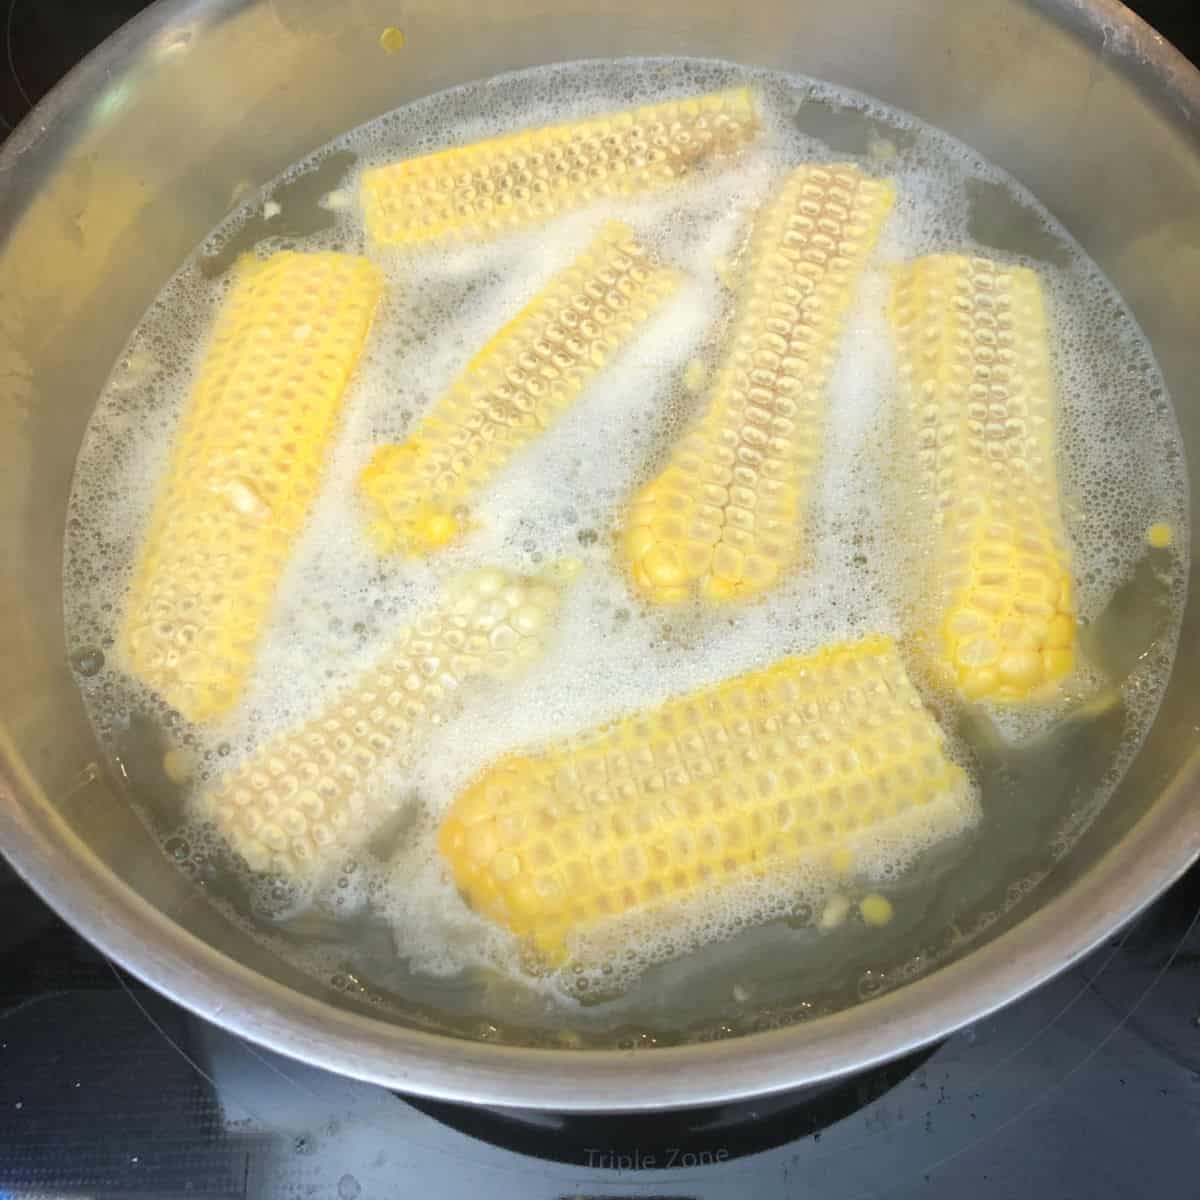
- Step 1: Heat oven to 400º F. Toss corn kernels with 1 teaspoon olive oil. Spred on a foil-lined cooking sheet and roast for 20 to 25 minutes, stirring occasionally, until lightly browned. Reserve ½ cup for garnish. Step 2: Meanwhile, place the corn cobs in a saucepan with about 4 cups of lightly salted water. Bring to a simmer and cook for 20 minutes, then remove from the heat and let steep for another 20 minutes. Strain and reserve the broth. Step 3: Heat the remaining oil and butter in a large soup pot over medium heat. Cook the onion and chilies until softened. Add the garlic and cook for about 30 seconds. Step 4: Add the potato, roasted corn, (except the reserved garnish), canned corn, chicken stock, and corn broth. Bring to a simmer and cook for 20 to 25 minutes, or until the potatoes are tender. Step 5: Transfer the solids to a blender with enough broth to blend smoothly. Puree until very smooth. Step 6: Press the puree through a fine-mesh sieve back into the soup pot discarding the tough corn solids,Step 7: Return the soup to a gentle simmer. Stir in the cumin and optional cream. Taste and adjust the seasonings with salt and pepper. Step 8: Serve garnished with reserved roasted corn, diced tomato, avocado, and green onion.
Notes
Nutrition
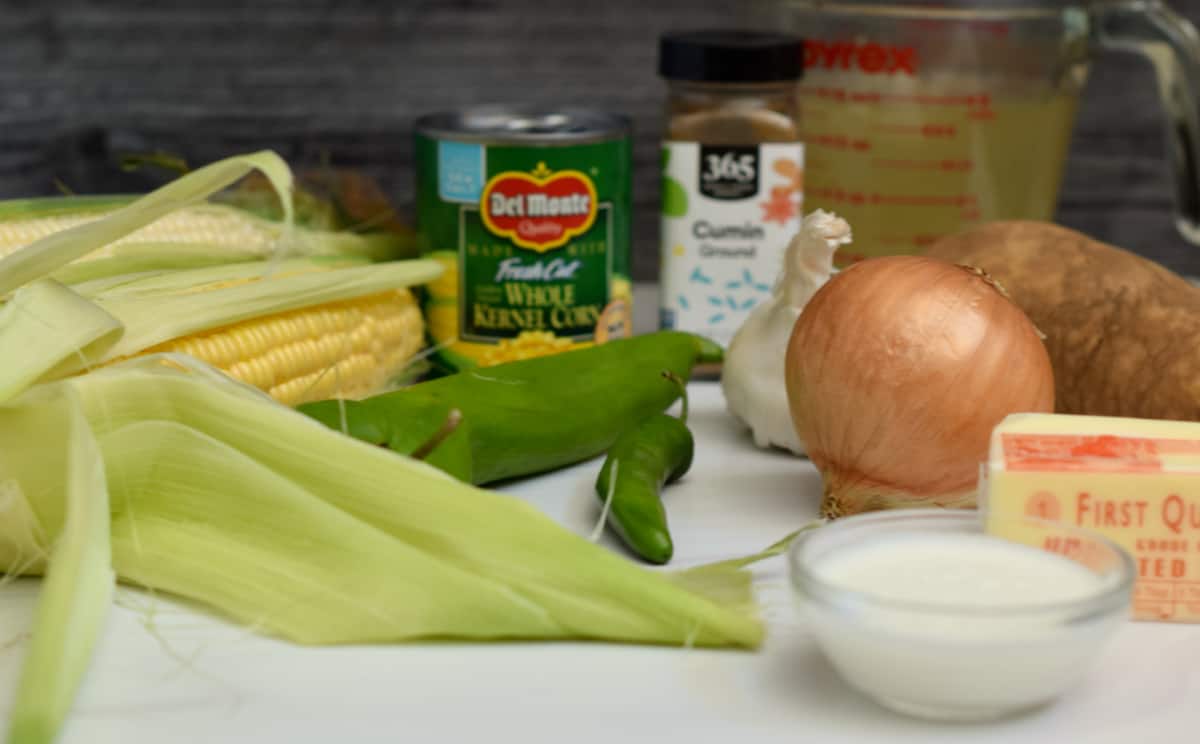
Ingredients & Why They Matter
Fresh Corn: The star of the soup. Roasting concentrates its natural sugars and adds a lightly toasted, almost nutty flavor you can't get from boiling alone.
Canned Corn: It may seem unexpected, but canned corn contributes a sweetness and depth that complements the roasted fresh corn, creating a fuller corn flavor.
Corn Broth: Don't toss the cobs! Simmering them makes a delicate broth that intensifies the corn flavor without adding extra ingredients.
Anaheim Chile: Adds mild chile flavor with very little heat, bringing complexity without overpowering the sweetness of the corn.
Substitutions: Poblano for a slightly earthier flavor, or green bell pepper for no heat at all.
Jalapeño or Serrano: Adds a touch of heat to balance the soup's sweetness. Jalapeños offer gentle warmth, while serranos pack more punch.
Tip: Remove the seeds and membranes for a milder soup.
Russet Potato: Its starch helps create a silky, creamy texture without relying on heavy cream.
Substitutions: A Yukon Gold can be used, though the soup will be slightly less thick and velvety.Chicken Stock: A lightly flavored homemade or good-quality low-sodium stock lets the corn remain the star.
Substitutions: Vegetable stock works well for a vegetarian version.
Heavy Cream (Optional): Just a splash rounds out the texture without making the soup heavy. Feel free to omit it for a lighter soup.
Ground Cumin: Adds a subtle earthy warmth that enhances the roasted corn without dominating the flavor.
Fresh Cilantro (Optional): Brightens the finished soup with a fresh, herbal note.
Substitutions: Flat-leaf parsley or sliced chives if you're not a cilantro fan.
For a vegetarian version: substitute vegetable broth for the chicken stock.
For a vegan version: use vegetable broth, olive oil instead of butter, and omit the cream or substitute an unsweetened plant-based cream.
Step-by-Step Instructions
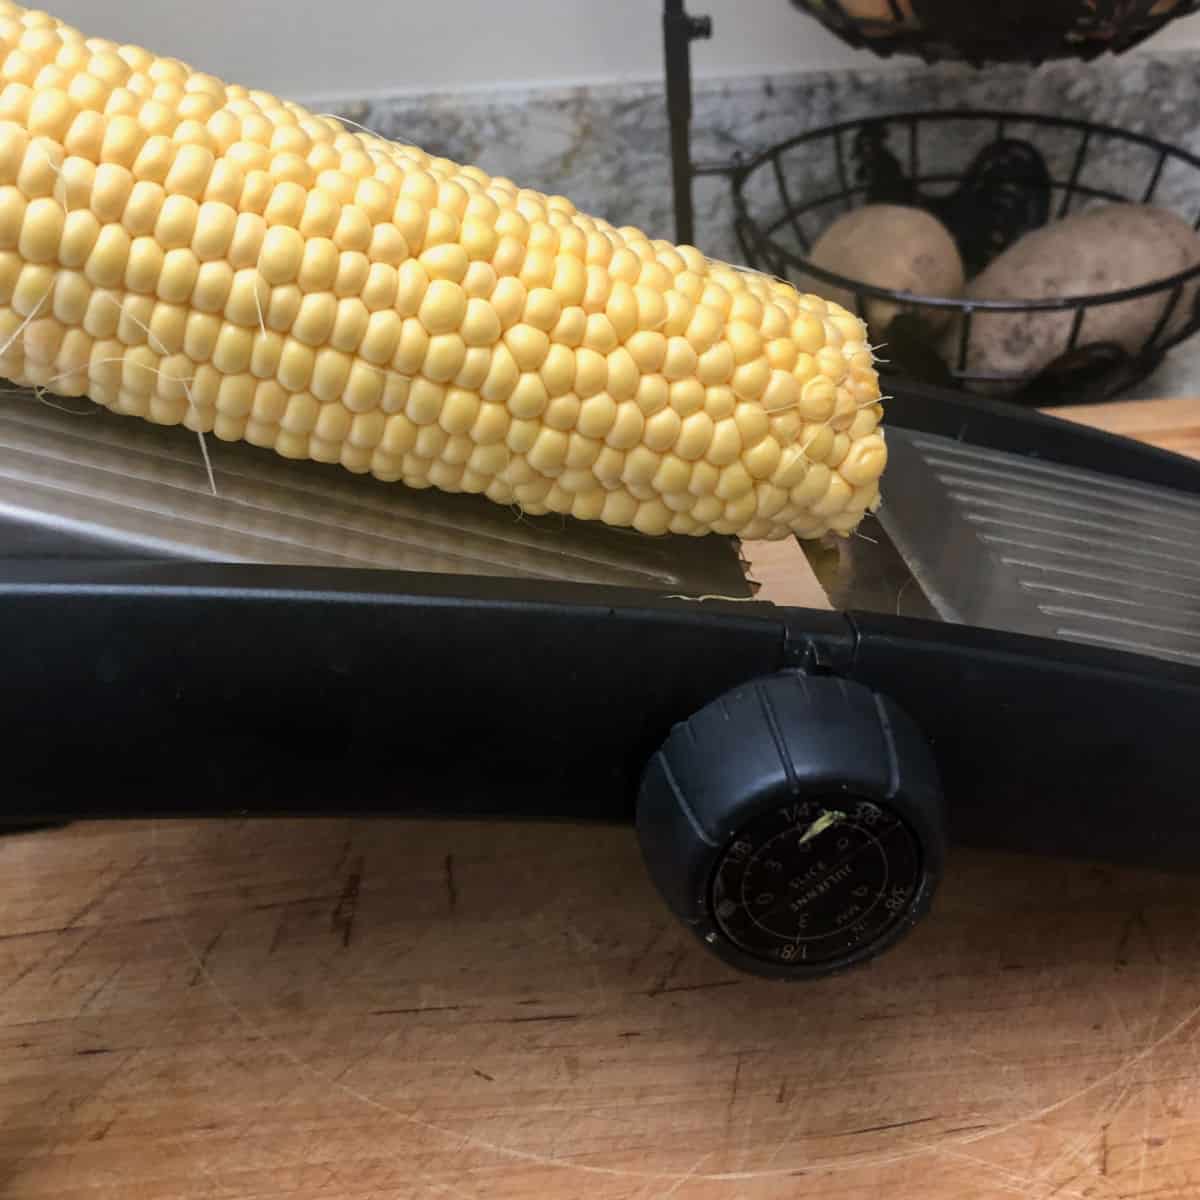
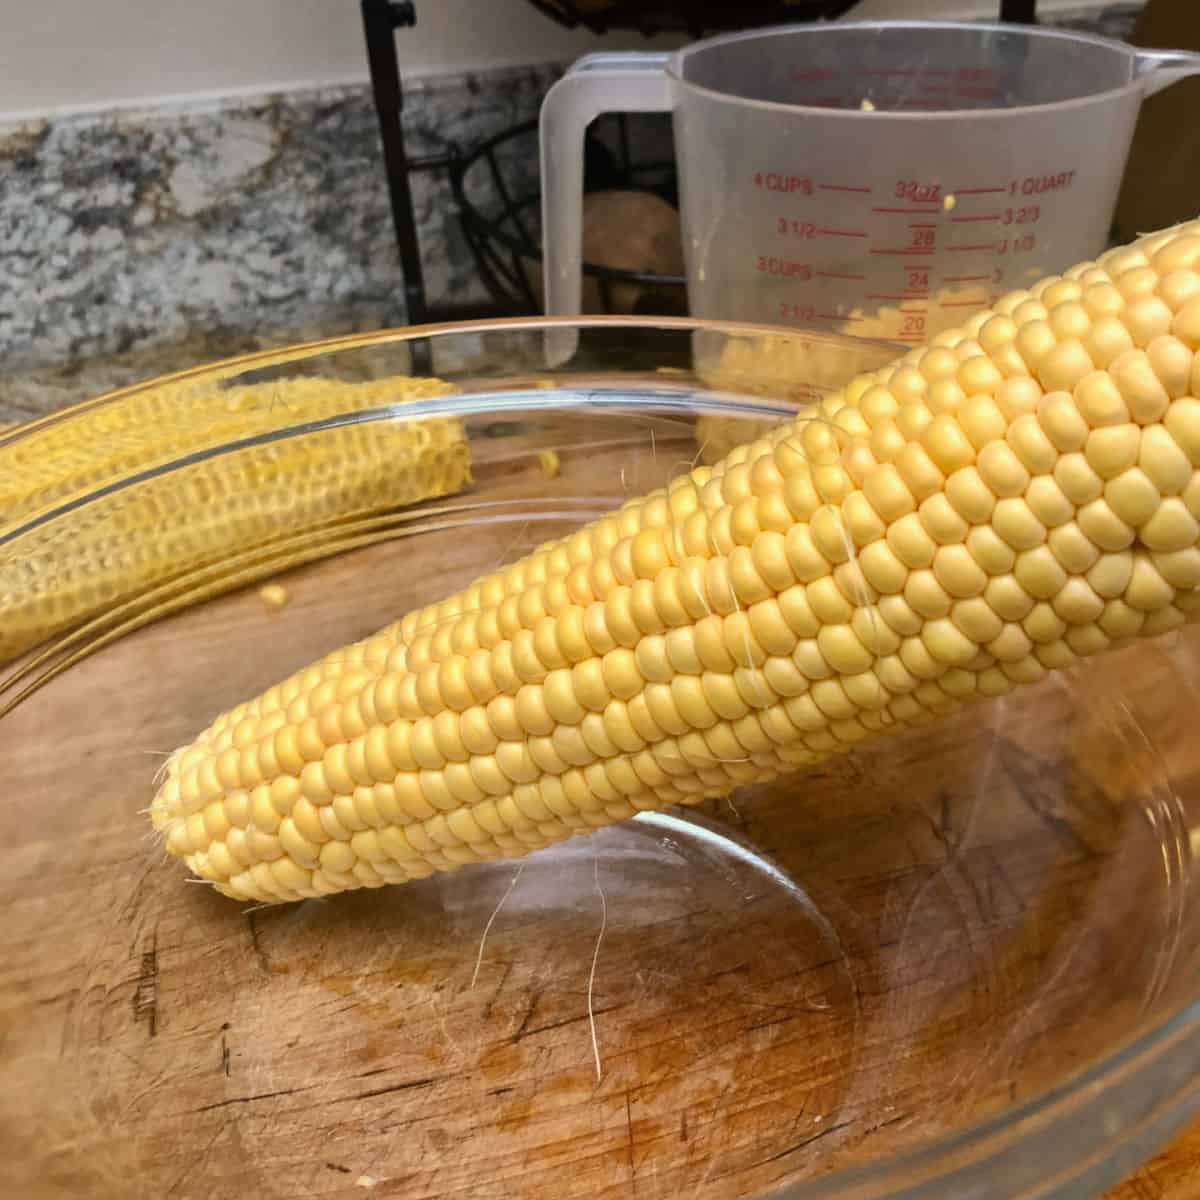
Step 1: Cut the Corn from the Cobs
Remove the kernels from the fresh corn using a sharp knife or a mandoline. Work over a large bowl to catch the kernels and any corn milk. You should have about 4 cups of corn.
Set the stripped cobs aside for the corn broth.

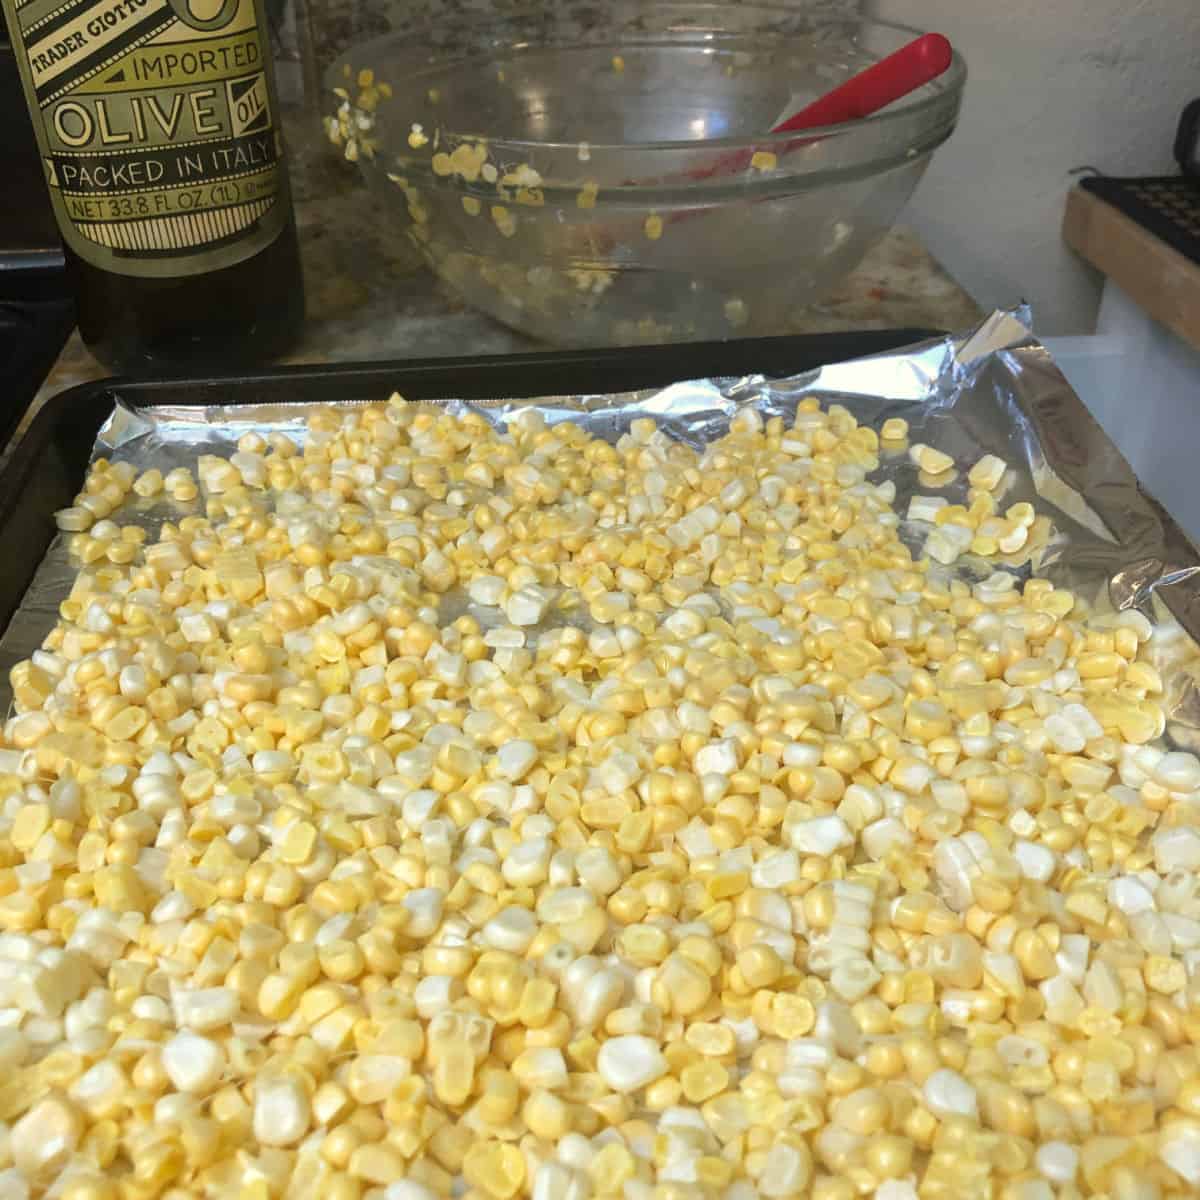
Step 2: Roast the Corn
Heat the oven to 400°F.
Toss the fresh corn kernels with about 1 teaspoon of olive oil. Line a baking sheet with foil, lightly coat it with cooking spray, and spread the corn into a single layer.
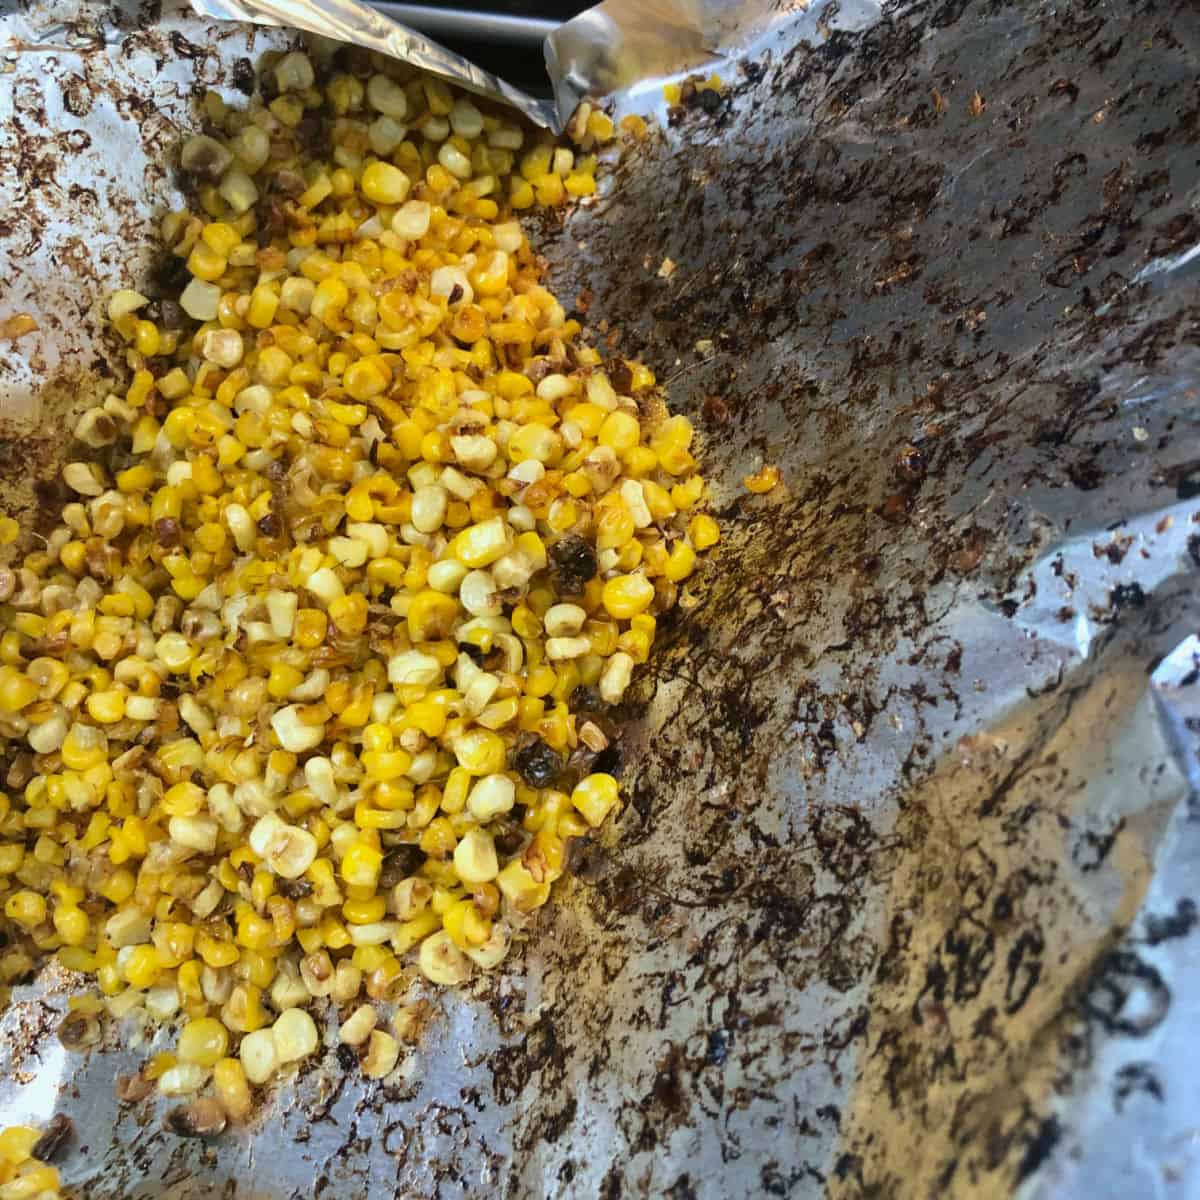
Roast for about 20 minutes, stirring several times, until the corn is lightly browned and toasted around the edges. Reserve a small amount for garnish.
Step 3: Make the Corn Broth
Cut the stripped corn cobs in half and place them in a saucepan. Add about 4 cups of lightly salted water.
Bring to a simmer and cook for 20 minutes. Remove from the heat and let the cobs steep for another 20 minutes to extract as much corn flavor as possible.
Strain and discard the cobs.
Step 4: Prepare the Vegetables
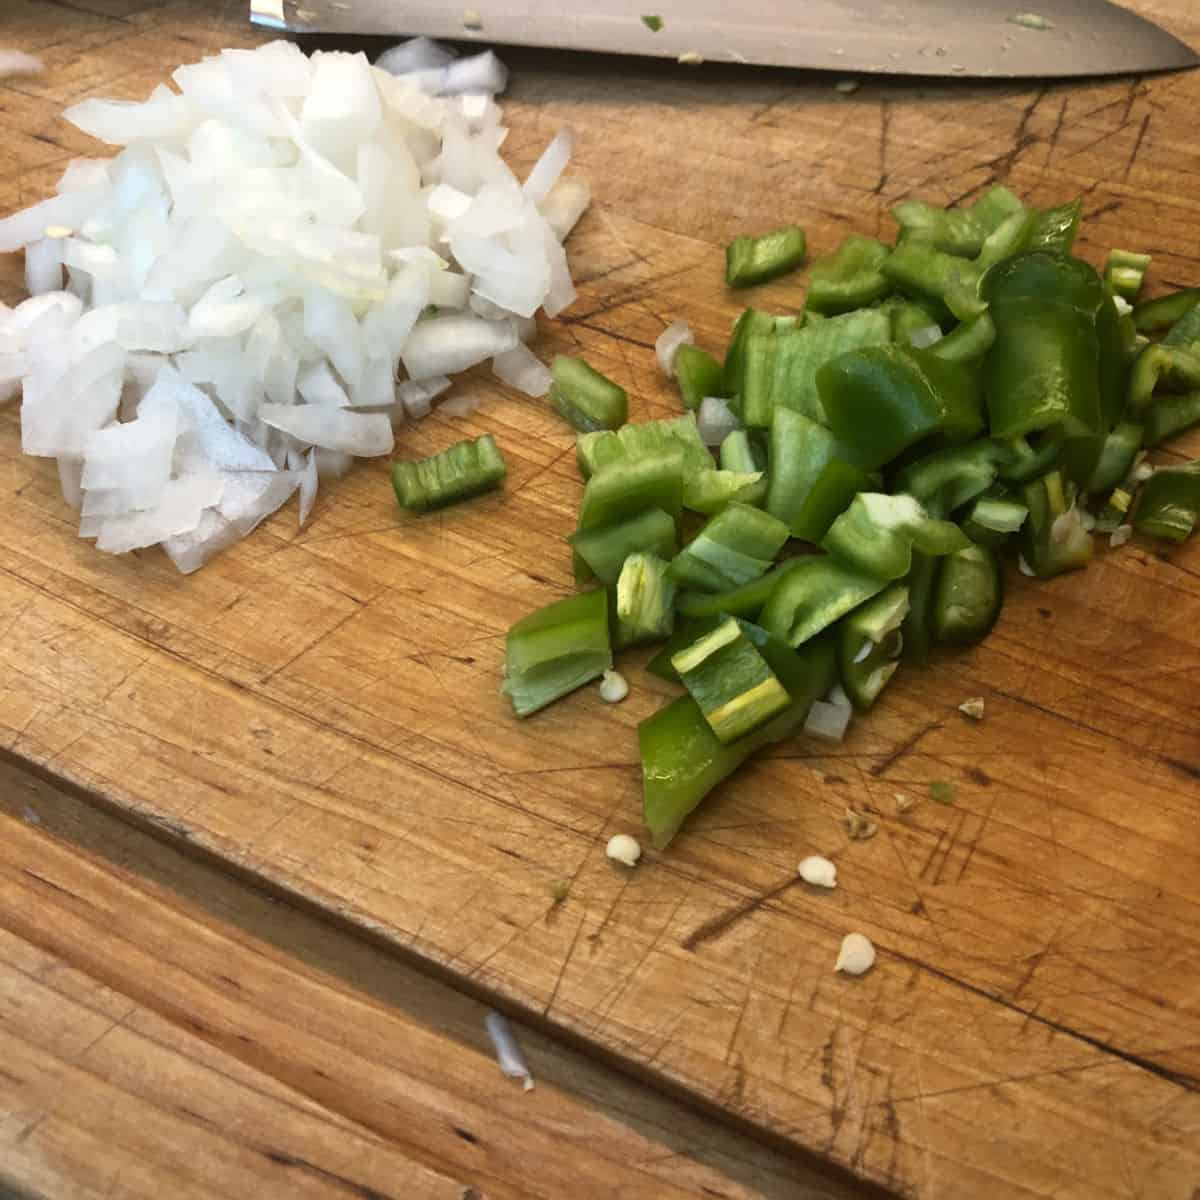
While the corn roasts and the broth simmers, chop the onion, garlic, Anaheim chile, and jalapeño or serrano.
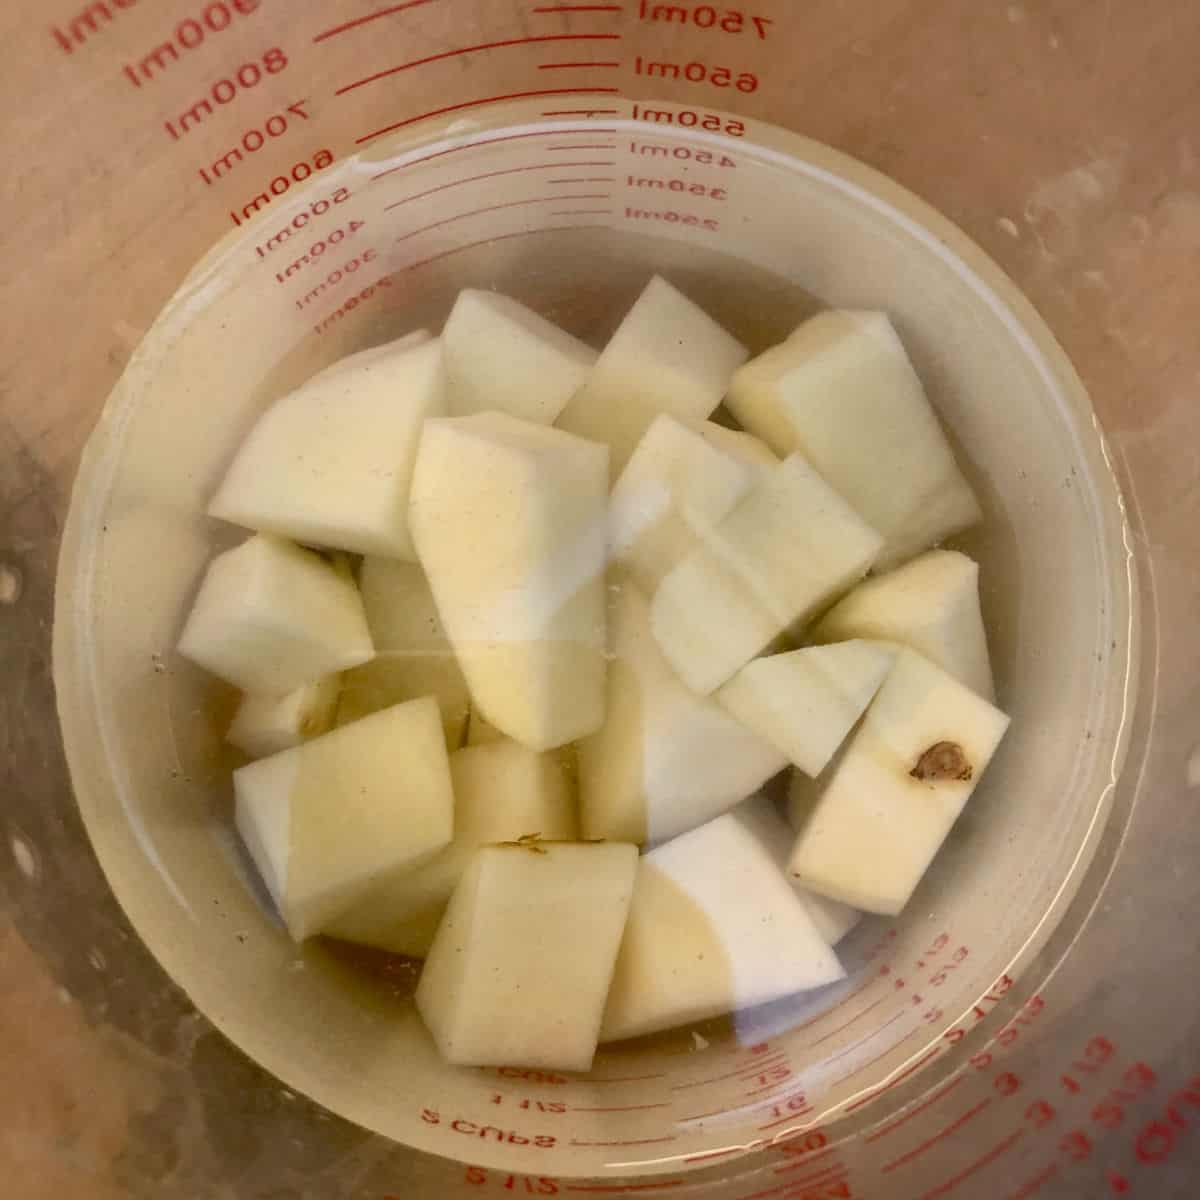
Peel and dice the russet potato. Keep the diced potato in cold water until ready to use to prevent browning, then drain well.
Step 5: Build the Soup
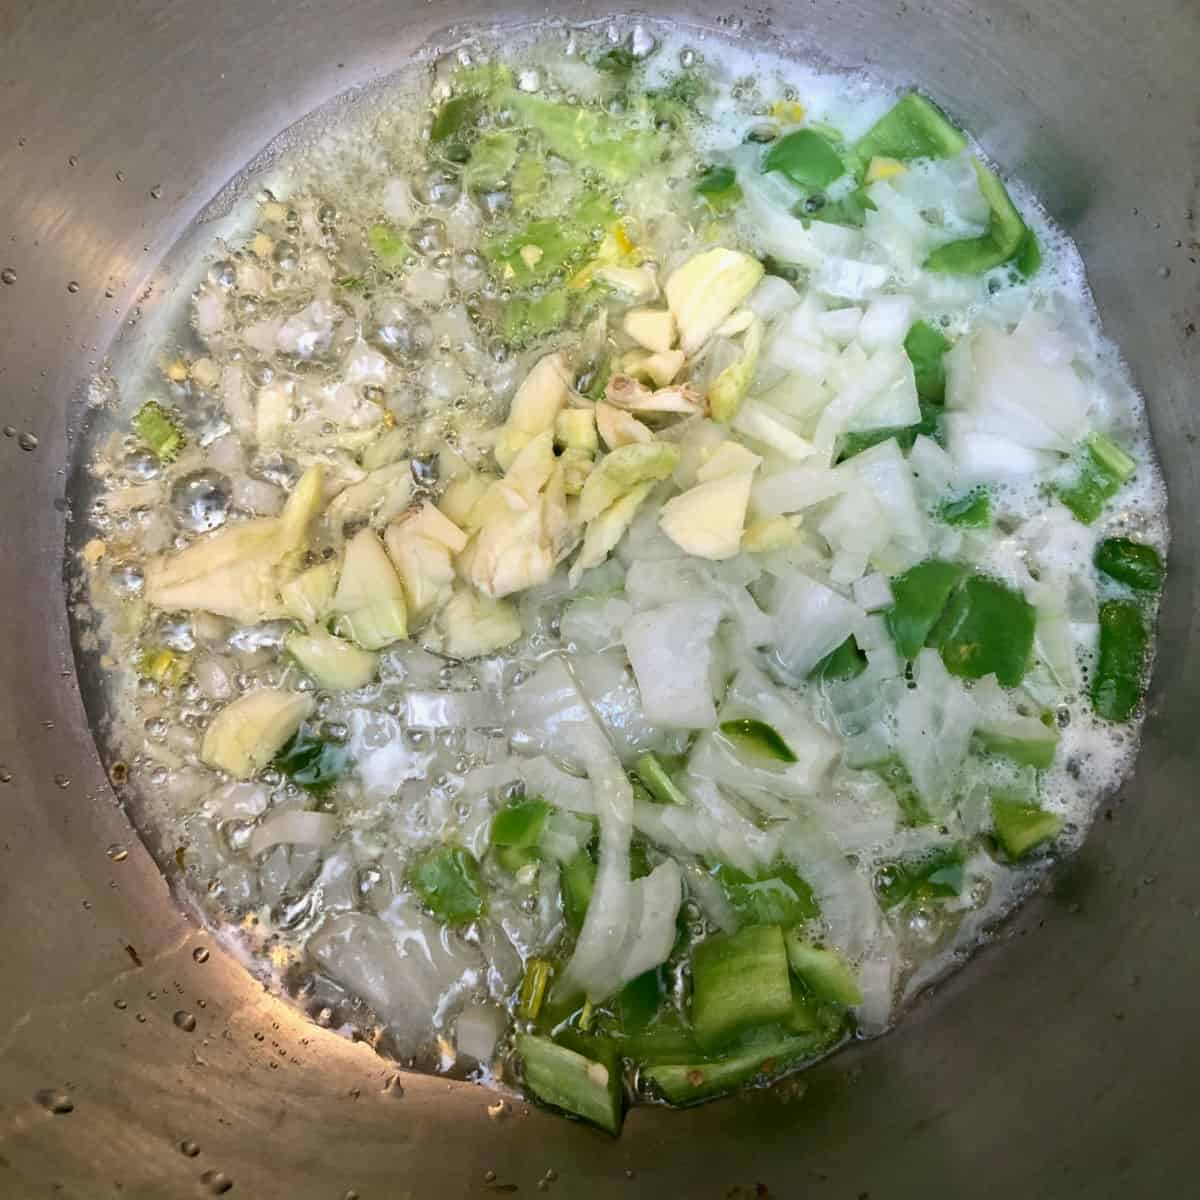
Heat the butter and olive oil in a large soup pot over medium heat.
Add the onion and chiles and cook until softened. Stir in the garlic and cook for about 30 seconds, just until fragrant.
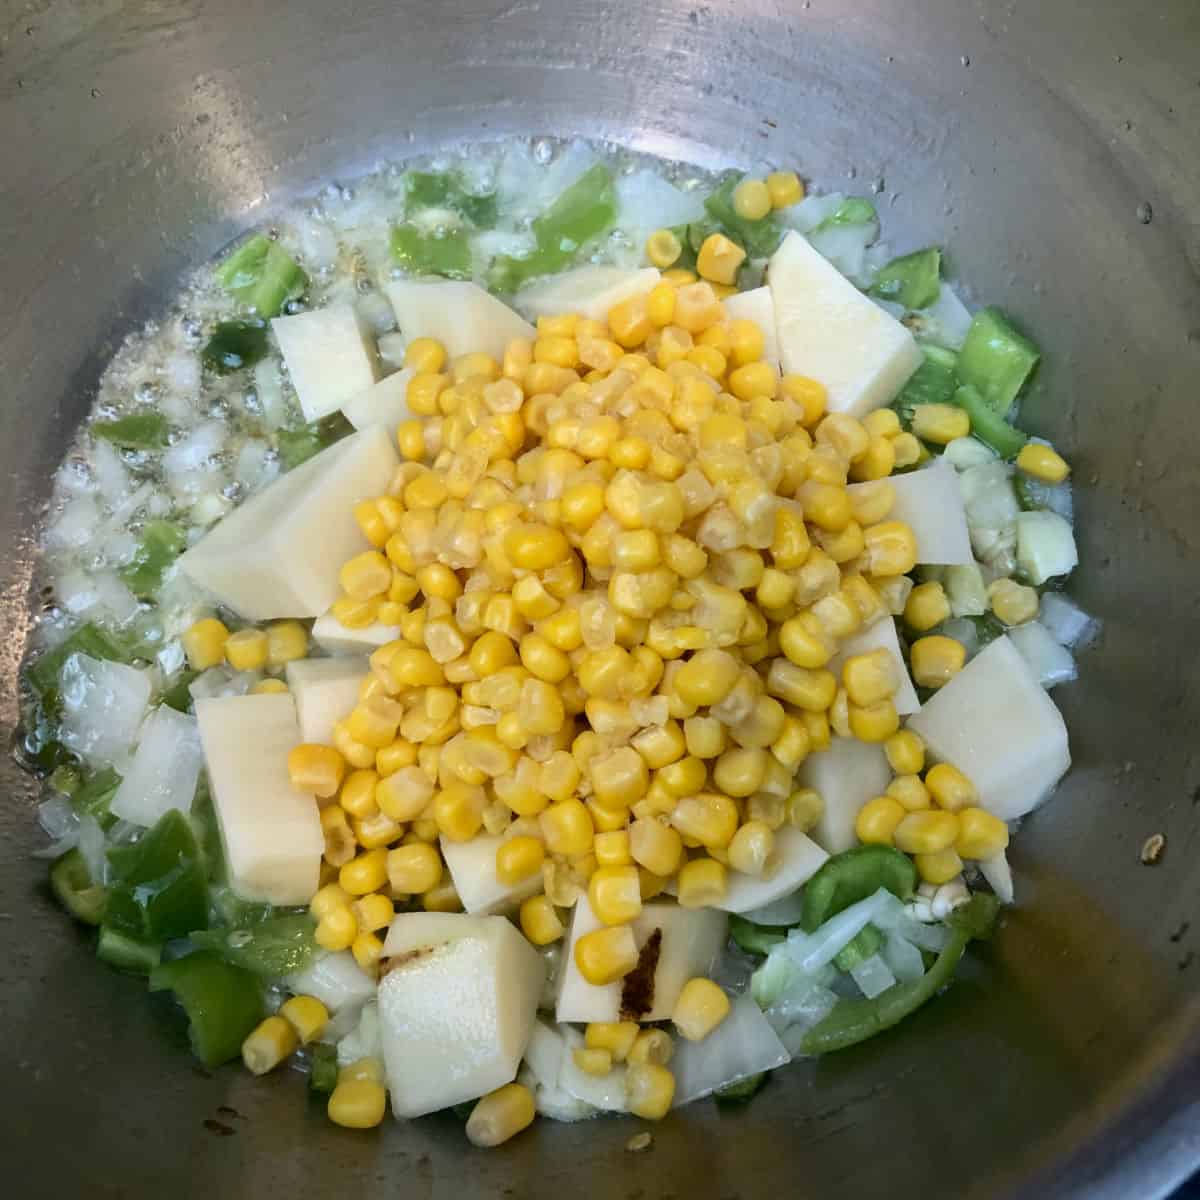
Add the drained potato, canned corn, and roasted corn.
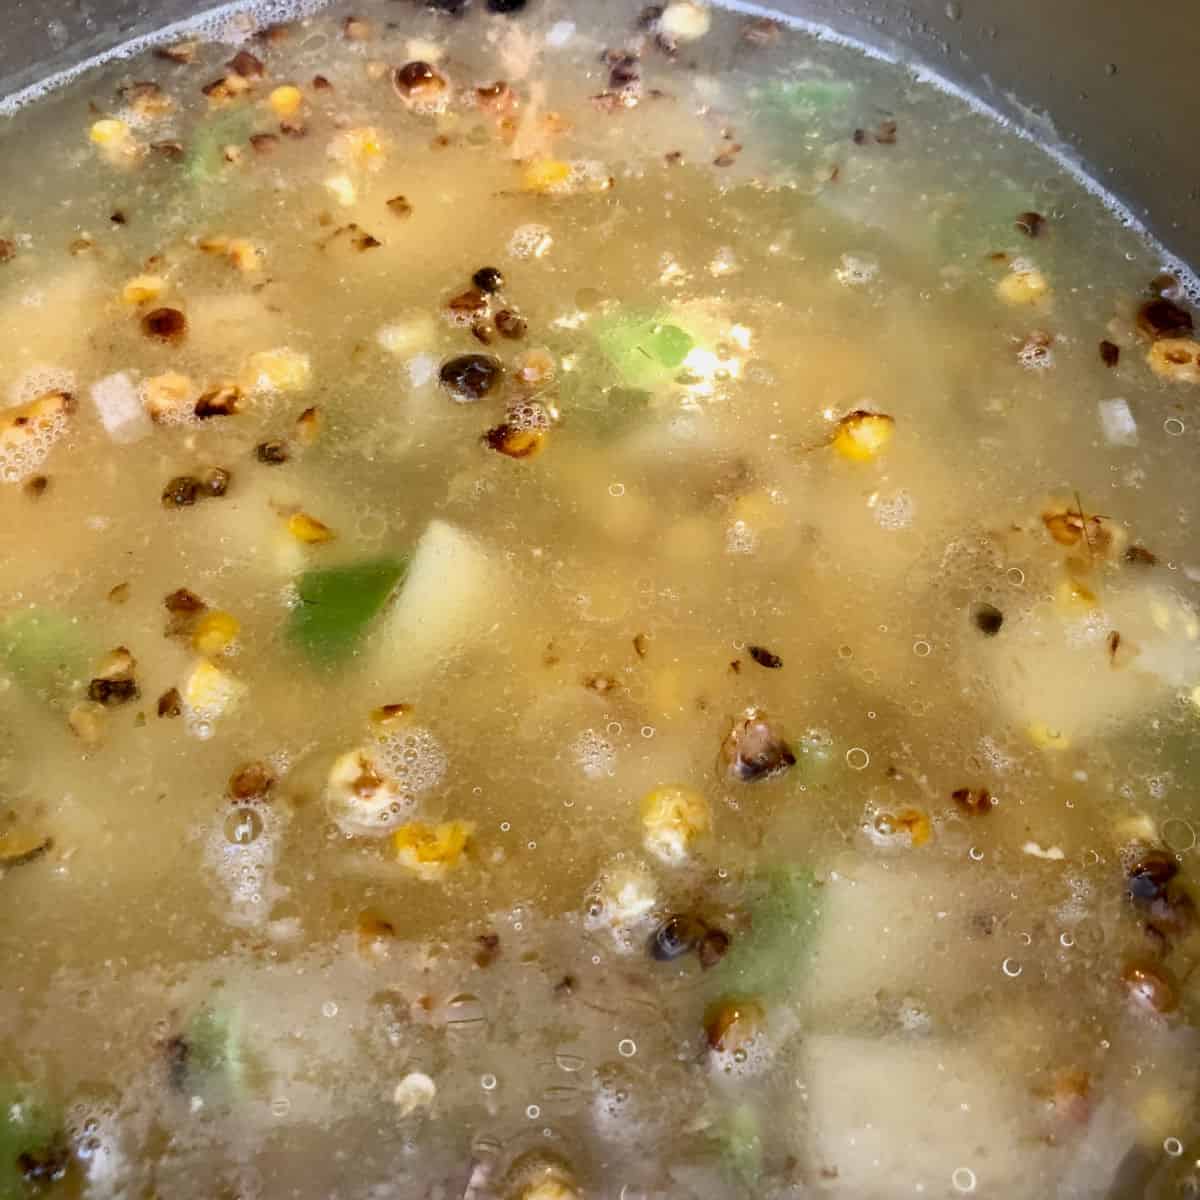
Pour in the chicken stock and corn broth. Bring to a boil, then reduce the heat and simmer for 20 to 25 minutes, or until the potatoes and vegetables are very soft.
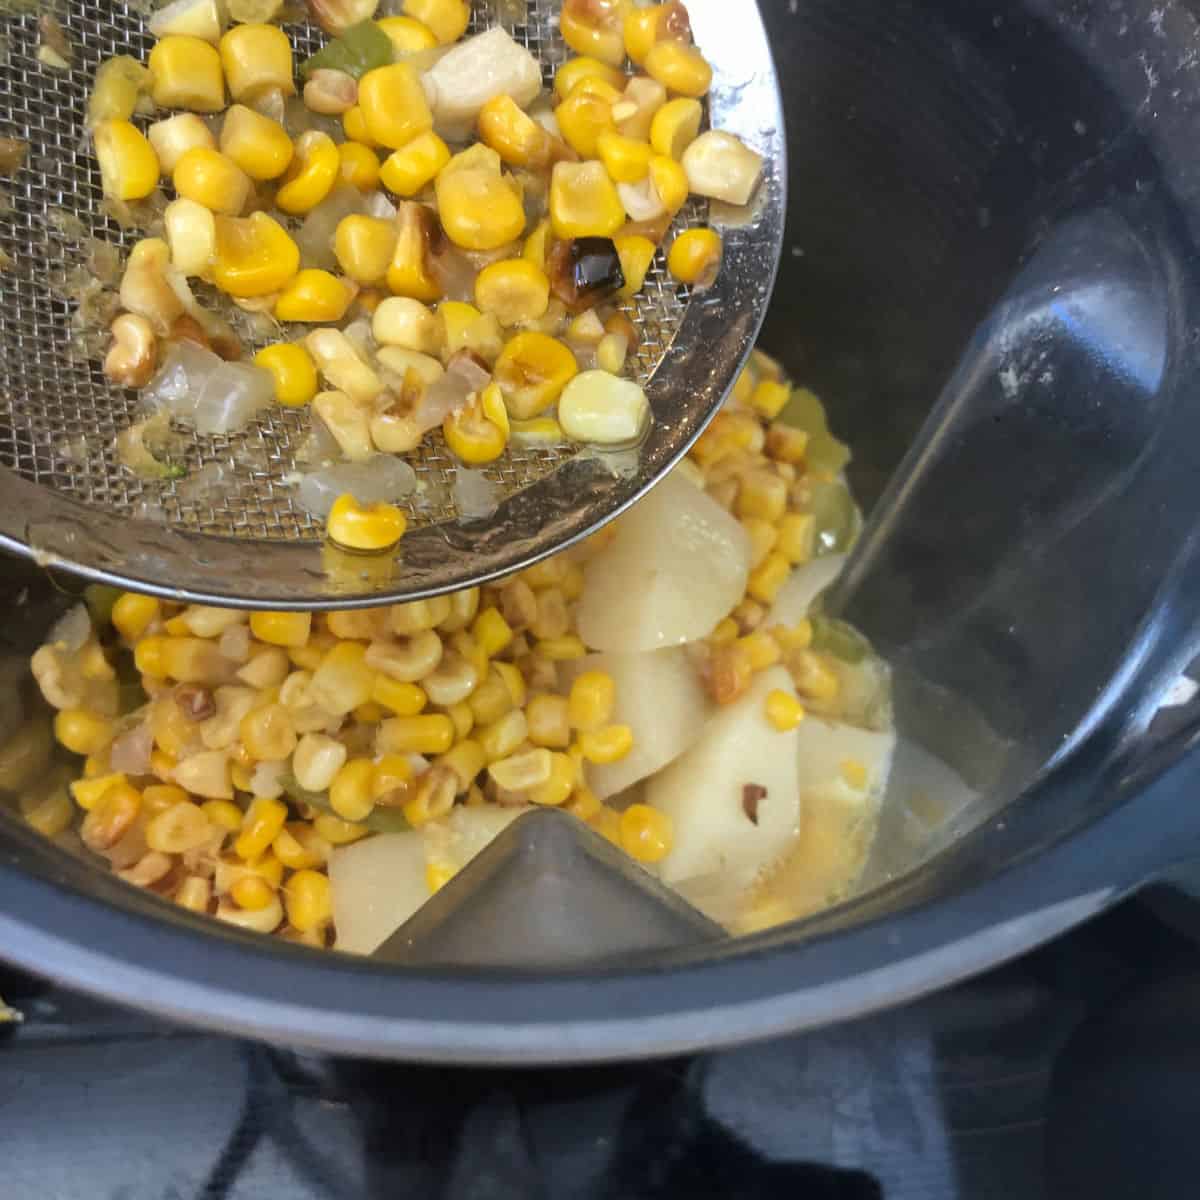

Step 6: Blend Until Smooth
Using a slotted spoon, transfer the solids to a blender. Add enough broth to keep the mixture moving easily.
Blend until very smooth, working in batches if necessary.
When blending hot liquids, do not fill the blender more than halfway. Vent the lid slightly and cover it with a folded kitchen towel before blending.
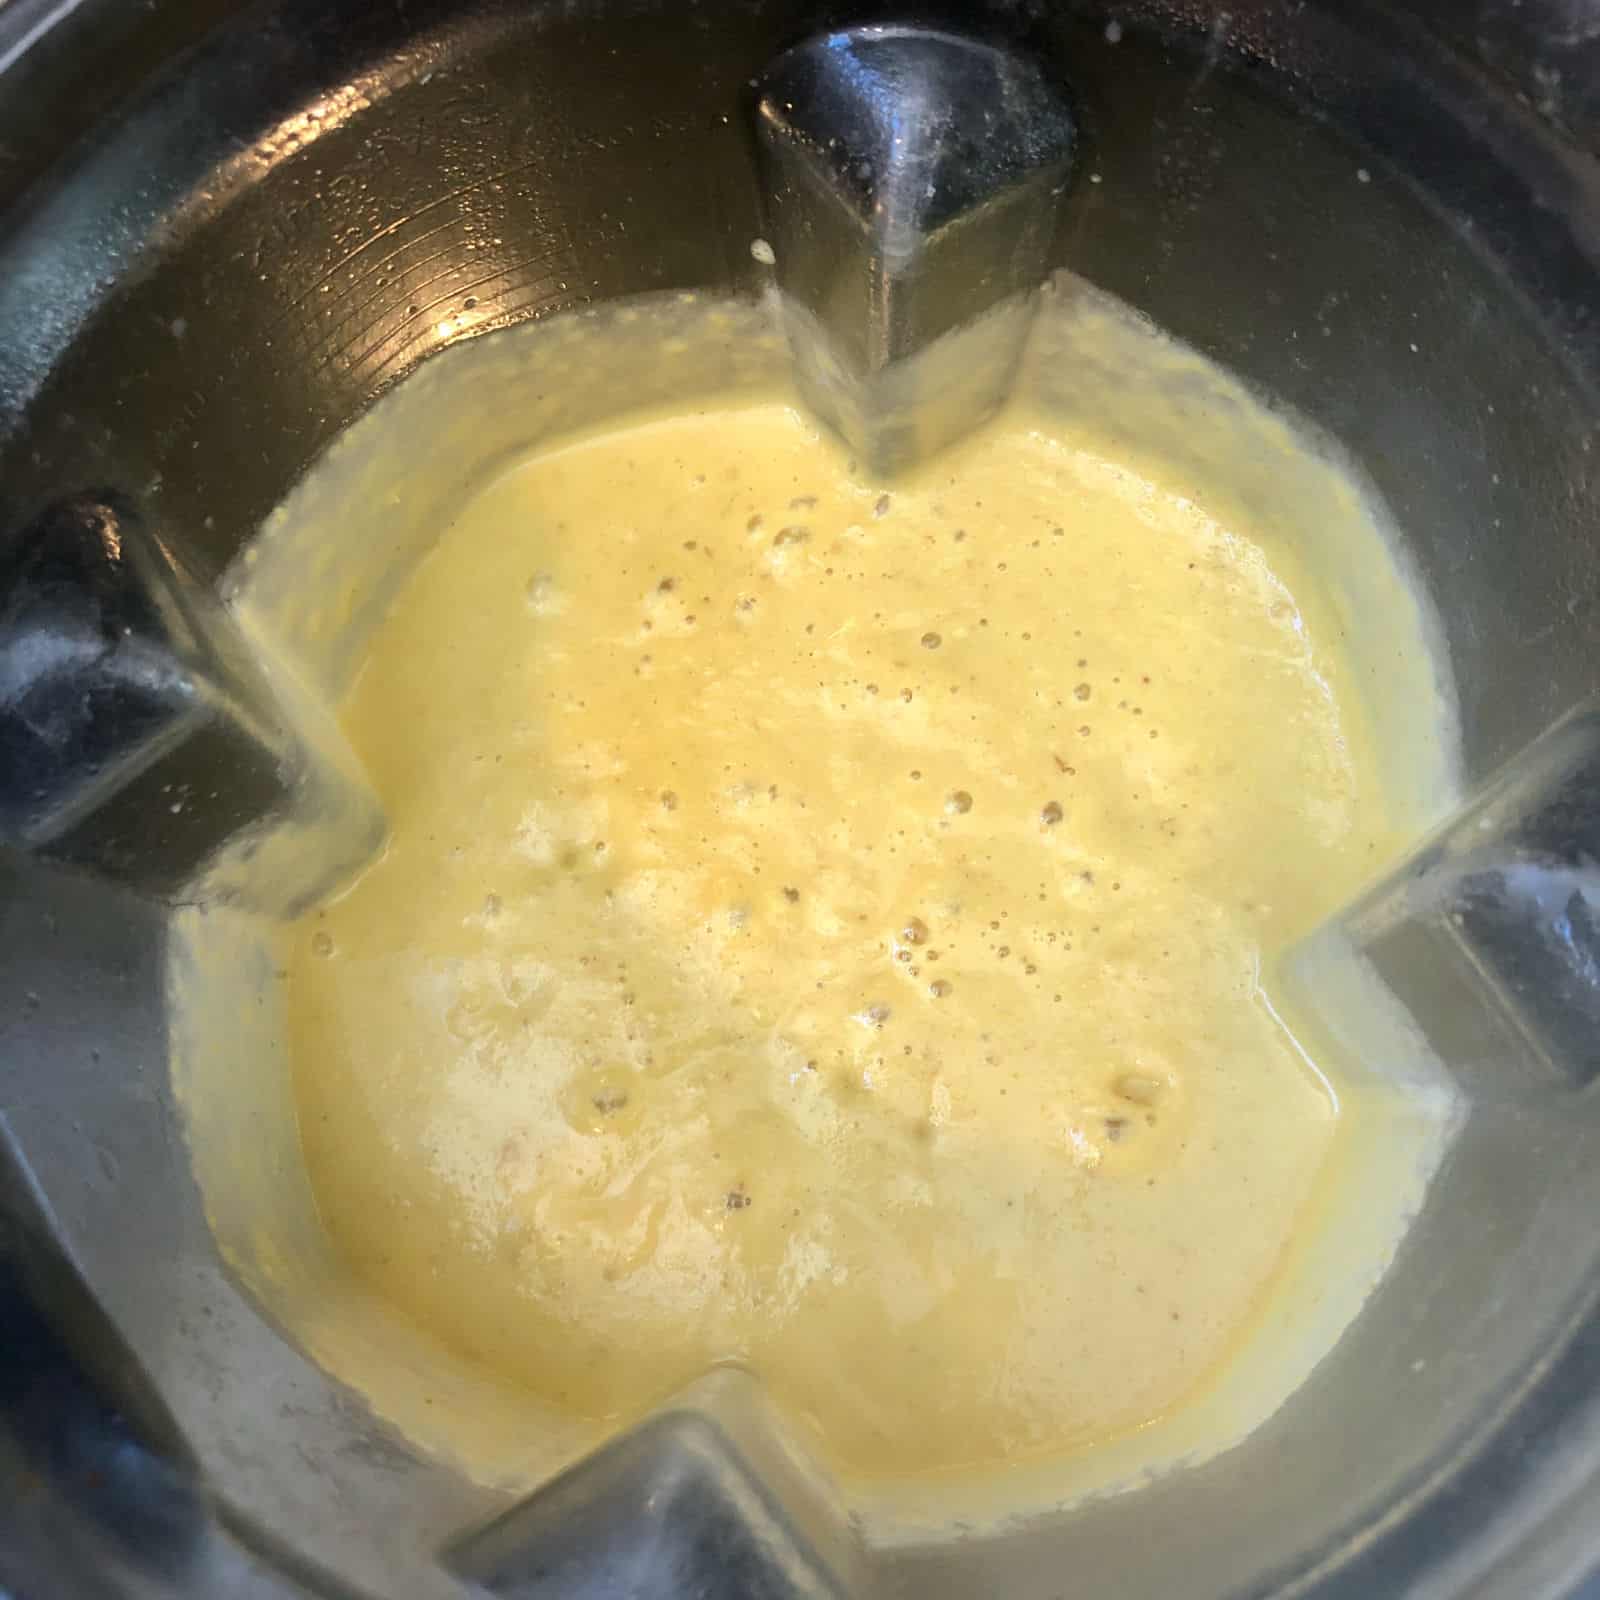
Step 7: Strain the Soup
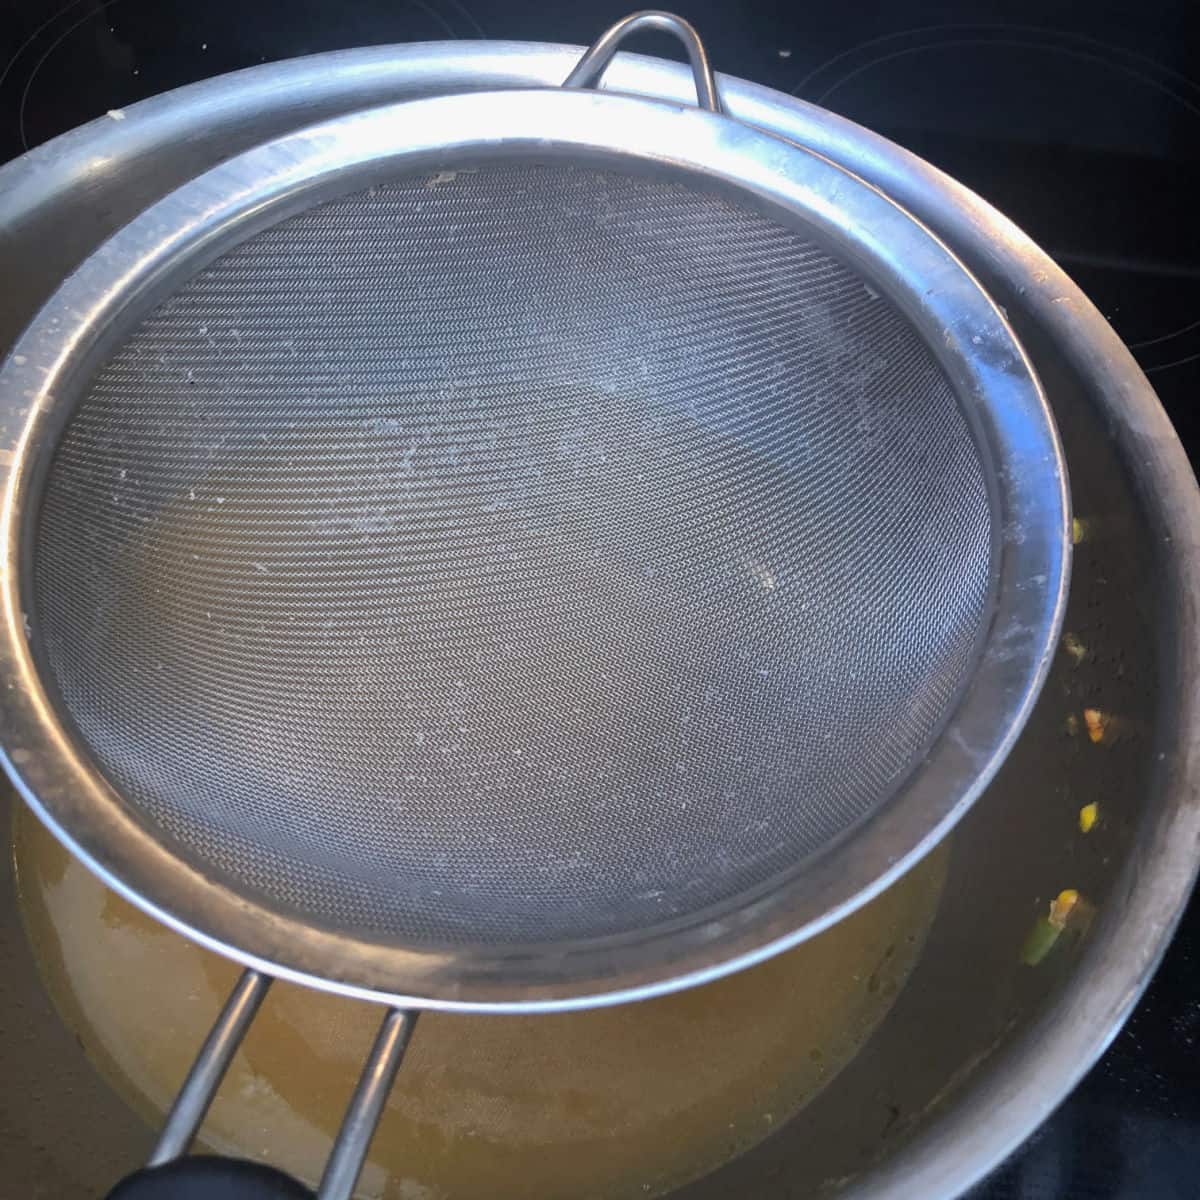
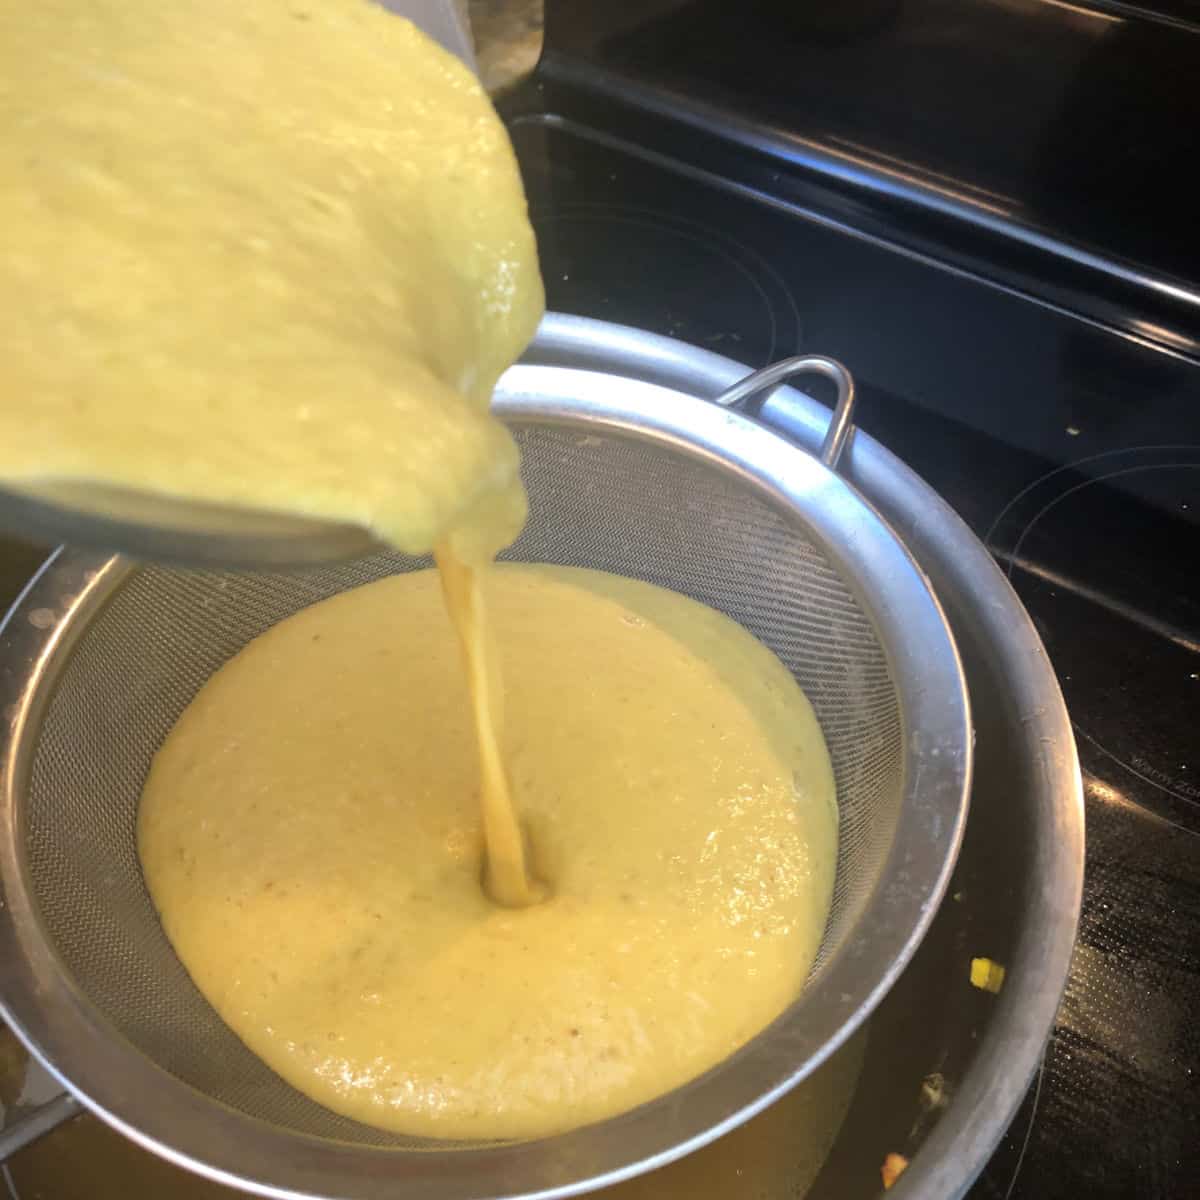
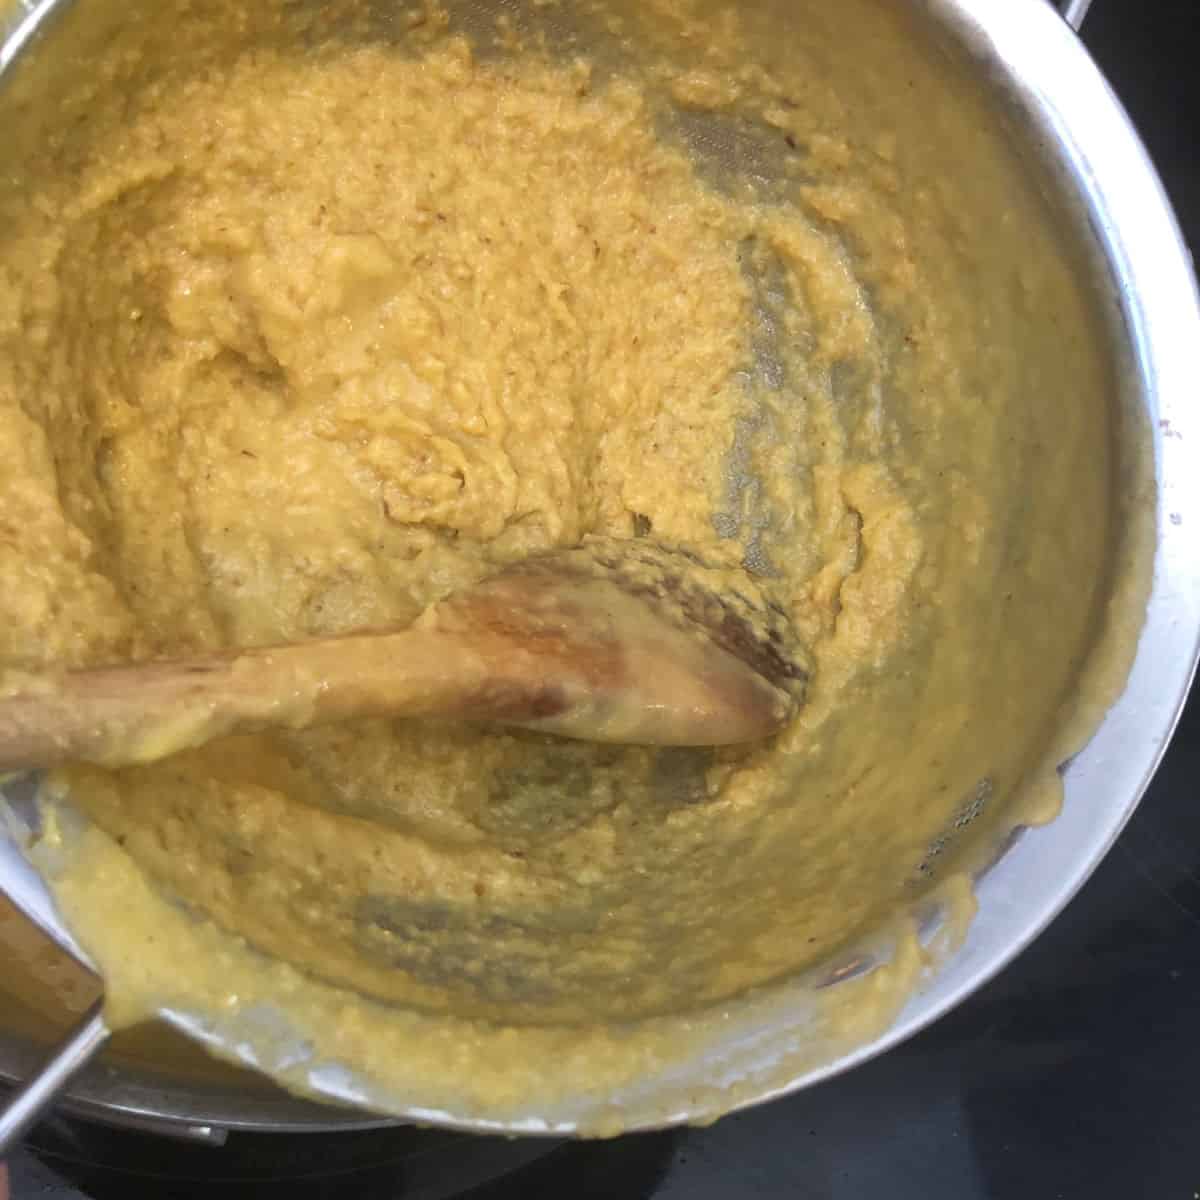
Place a fine-mesh strainer over the soup pot and pour the blended corn mixture into it.
Use a wooden spoon or silicone spatula to press, or smoosh, the puree through the strainer. This removes the tough corn skins and gives the soup its smooth, creamy texture.
Discard the solids left in the strainer.
Step 8: Finish and Serve
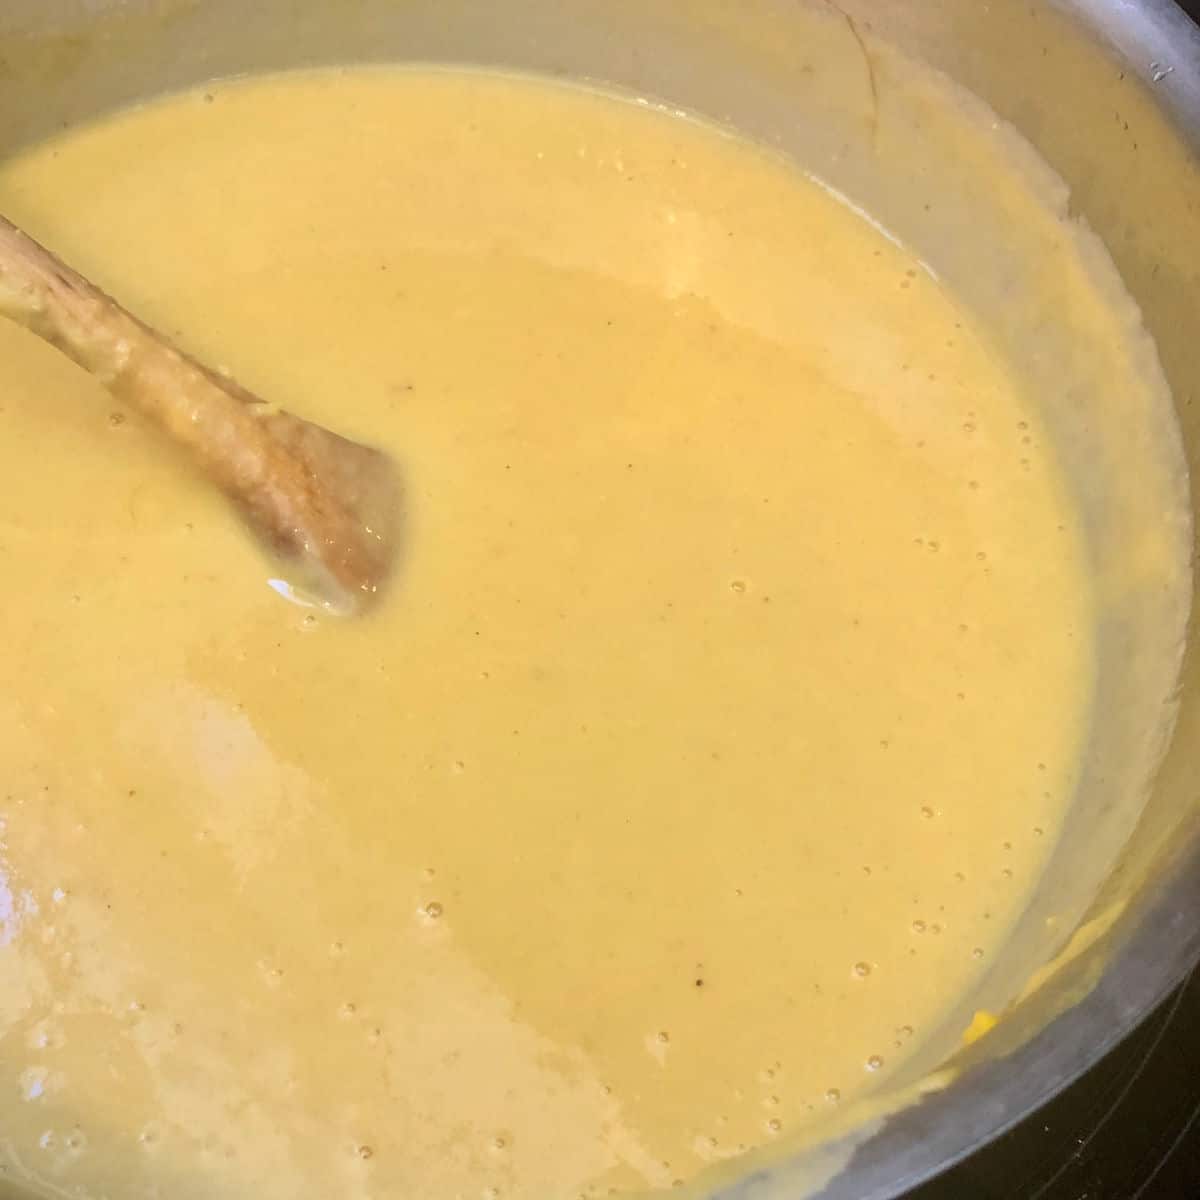
Return the soup to a gentle simmer.
Stir in the ground cumin and the optional cream. Taste and adjust the salt, pepper, and heat as needed.
Serve topped with diced tomato, avocado, green onion, and the reserved roasted corn.

LindySez Tips
- Roast the corn until the edges are browned. That's where the deep roasted flavor develops.
- Don't skip straining the soup. Corn skins don't fully puree, and the sieve gives the soup its velvety restaurant-quality texture.
- Reserve a handful of roasted corn for garnish. It adds sweetness, texture and makes the finished soup look beautiful.
- Taste after adding the cumin. Corn sweetness varies throughout the season, so the final seasoning may need a little extra salt or pepper.
Yes. Either works well, but they produce slightly different results.
Yellow corn has a richer corn flavor and gives the soup its beautiful golden color.
White corn is generally a little sweeter and produces a paler soup.
Use whichever looks freshest at your market.
Each contributes something different. Fresh-roasted corn adds sweetness and a lightly toasted flavor, while canned corn has a concentrated, unmistakable corn flavor that's difficult to replicate. Together, they create a soup with much more complex flavor than either could alone.
It's worth the extra 20 minutes.
Instead of throwing away the cobs, simmering them creates a naturally sweet broth that reinforces the corn flavor throughout the soup. If you're short on time, you can substitute additional chicken stock or water, but the finished soup won't have quite the same depth.
Yes, and I actually recommend it.
The flavors become even more rounded after a day in the refrigerator. As the soup chills, it will thicken naturally. When reheating, stir in a little reserved corn broth, chicken stock, or water until it reaches your preferred consistency.
Yes. Because this recipe contains only a small amount of cream, it freezes surprisingly well.
For the very best texture, freeze it before adding the cream and stir the cream in after reheating.
If the soup is already finished with the cream mixed in, don't worry. It can still be frozen. Thaw it overnight in the refrigerator, reheat it gently over low heat, and whisk well before serving. If it looks slightly separated, a quick pass with an immersion blender or regular blender will bring it back to a smooth, creamy consistency.
FAQs
Storage
This soup will stay in the refrigerator, covered, for a few days. You can also freeze it.








D Wheeler says
This is a really nice corn soup, esp when corn is in season and abundant. Mild to med heat level, great fresh smokey flavor.
I dislike it when reviewers love a recipe then go on to list all the modifications... but I did too. Didn't bother with making corn stock, subbed all chic stock for liquid. But next time will make the corn stock. Did not strain out solids after blending. Would be nice option to have a smooth soup, but we didn't mind and didn't want to fool around with the mess of straining. Also added a couple tablespoons of cream to swirl in before serving. Check your seasonings along the way, it was quite a bit under seasoned towards the end. Added more salt and pepper to taste.
Linda Baker says
Thank you! I'm so glad you enjoyed the soup.
I completely understand the shortcuts. The corn stock adds another layer of sweet corn flavor, but good chicken stock still makes a delicious soup. And the straining step is entirely optional. I like the silky texture, but leaving the blended corn in gives the soup a little more body and rustic character.
You're also right about seasoning. Fresh corn varies in sweetness, so tasting and adjusting the salt and pepper before serving is always a good idea.
Thanks so much for sharing your experience, and I hope you give the corn stock a try next time! Cheers ~ Lindy