Even if you don't have chickens in your backyard, you can still make Backyard Chicken Deviled Eggs with store-bought eggs. A most requested recipe.
The making of Backyard Chicken Deviled Eggs
OK...Even if you don't have backyard chickens, then you can make this recipe with eggs from the store.
Actually, my eggs were almost too fresh for my Backyard Chicken Deviled Eggs. Hard-cooked eggs are much easier to peel when they are a few weeks old. Why? It has to do with the ph and the membrane...want to know more?
"And yes, I said hard-cooked, not hard-boiled, because I didn't boil them. I baked them."
Back in the way back machine of my relationship with hard-cooked eggs
I have a nasty confession to make. I don't like Deviled Eggs, not even Backyard Chicken Deviled Eggs. I use to love hard-boiled eggs, and we ate them a lot as kids. Being from a European background, a picnic lunch would consist of salami, cheeses, bread, crackers, and hard-boiled eggs.
And it was all good.
Until the day my parents helped the owners of a boat that was going to be used in the TV series "Sea Hunt". It was a beautiful boat, docked in the marina, where there was just a hint of lovely gentle wave motions. Up and down. Back and forth.
And repeat.
What the boat needed was some new varnish. Us kids were told to "stay out of the way" so we went below, to the galley where we sat, and ate. Salami, cheeses, bread, crackers, and hard-boiled eggs. A lot of hard-boiled eggs...as the odor from the varnish made its way down the steps, into the galley.
Where they lingered.
And lingered. Until we all got sick of gentle up and down, back and forth, the wonderful fumes from the varnish and hard-boiled eggs.
Since then I've had a hard time with hard-cooked eggs, deviled eggs, Easter eggs, egg salad...but I know a lot of people that LOVE this stuff, and so I make it, and I make it well. I just have someone else taste test it for me.
Someone who LOVES hard-cooked eggs.
Why bake eggs for hard-cooked eggs?
With Deviled Eggs, it's all about taste and texture.
And a bit about presentation.
One of the things I didn't like about hard-boiling eggs was that the yolk would not be where it was supposed to be. It simply would not cooperate and stay dead center in the middle. It insisted on being too close to the top, or closer to one side than the other. This makes it extremely difficult to get it right when you are refilling that yolk hole.
Discussing this with a fellow-cooking friend, they suggested that I lay the eggs down sideways in the carton, they heard that this would "suspend" the yolk in the center, and the problem would be solved. Even with my chicken's little eggs (they just started laying and I understand they will get larger as they mature) I was unable to lay 12 eggs in a carton on their sides. Simply not enough room.
And I was cooking two dozen eggs. Getting them all into the pan, cooking them equally, and then there's that thing about adding vinegar to the water or not, eggs cracking, putting pin-holes in or not to stop the eggs from cracking...well there just had to be an easier way.
Gosh, I love the internet.
Baking eggs
Every site I looked at had the EXACT same technique as far as time and temp, and that makes me trust the technique. Some have you put the egg into a muffin tin, and if you were doing only a dozen, why not, but then again why? I found laying them, on their side, right on the oven rack, worked perfectly. Unless you have very large spaces on your oven racks, ones large enough that the eggs could fall through if so, use the muffin tin.
So here's what you do...heat your oven to 325°. Lay your eggs, on their side, directly onto the rack. Cook for 35 minutes. Remove to an ice bath (a big bowl of water with ice) and let them sit for 10 minutes. Remove, peel, and make your deviled eggs.
Simple right?
For this recipe, I used the food processor to give my eggs and a very creamy texture. These eggs were one of the most requested "recipes" that I made for My Son's 21st Birthday Bash. To keep my life easy on party day, I prepped them in advance by making the filling and storing that separately from the whites, covered and refrigerated, until the next day when the filling could be spooned or piped into the whites.
I also don't pipe. Well, I could, but it's not my best use of time. I've said it before, I'll say it again, I make good food. I don't do the presentation as well as some, so George, who is an expert piper, was given the task of piping the filling into the eggs.
You all do get that it's ok to ask your guest for help when giving a party, right? You'll know who to ask, and who not to.
This recipe is featured in A Feast for Dad and My Son's 21'st Birthday Bash.
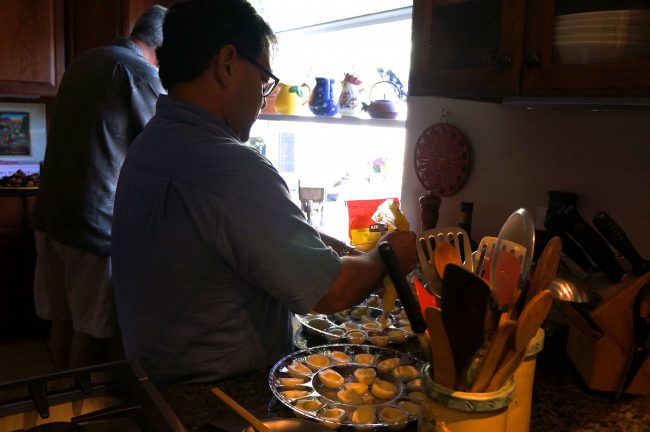
George piping the filling into the Backyard Chicken Deviled Eggs
Beautiful Backyard Chicken Deviled Eggs
Backyard Chicken Deviled Eggs
Ingredients
- 12 eggs should be at least a week to ten days old for easier peeling
- ¼ to ⅓ cup low-fat mayonnaise I use low-fat, if you want to use high fat, go ahead, I just don't see the point of the extra calories and fat
- 2 tablespoons low-fat sour cream same as above
- 1 teaspoon yellow mustard good old French's
- ½ to 1 teaspoon horseradish
- Dash salt and pepper
- Dash smoked paprika plus more for the finish
Instructions
- Cook the Eggs: Heat the oven to 325 °F. Remove the eggs from the carton and lay down sideways onto the oven rack placed in the center position of the oven. Cook for 35 minutes.
- While the eggs cook, prepare a water bath by combining cold water and ice in a large bowl. When the eggs have baked 35 minutes, remove them with an oven mitt or tongs to the ice bath and allow to cool for 10 minutes.
- Crack and peel the eggs under cold running water, or in a bowl of water. (f you have backyard chickens, save the shells for them. They love them and it's a great source of calcium). Cut the eggs in half, laterally, then scoop out the yolk. Place the yolk in the work bowl of a food processor along with ¼ cup of mayo, the sour cream, mustard, ½ teaspoon horseradish, salt, pepper, and a dash of smoked paprika. Turn on the processor and process until very smooth. Add more mayo if the mixture seems too dense until you reach the consistency you prefer. Taste and adjust horseradish and seasonings. (You could also do this by hand; smash the yolks first with a fork, then and the remaining ingredients and whip using either a fork or whisk until smooth). Spoon or pipe the filling into the whites, sprinkle with smoked paprika and serve. See above blog piece about how to prepare these in advance
Cher says
Very awesome, Linda! My daughter will definitely enjoy making these! I have foods that I no longer eat after a bad experience, so I can totally relate!!
LindySez says
I know, sometimes it's just so simple to get turned off to a flavor or texture. I try, but just can't get past it.
Chris G says
And they were sooOoo delicious too!
LindySez says
Thank you...people did seem to love them...but the chicken girls did the hard work 😉