
Skip the supermarket prepared chicken and make an even better rotisserie chicken at home. Whether it turns slowly over an outdoor grill or cooks in a countertop rotisserie, a flavorful brine and your favorite seasonings produce tender, juicy meat and beautifully browned skin—fresh, hot, and made exactly the way you like it.
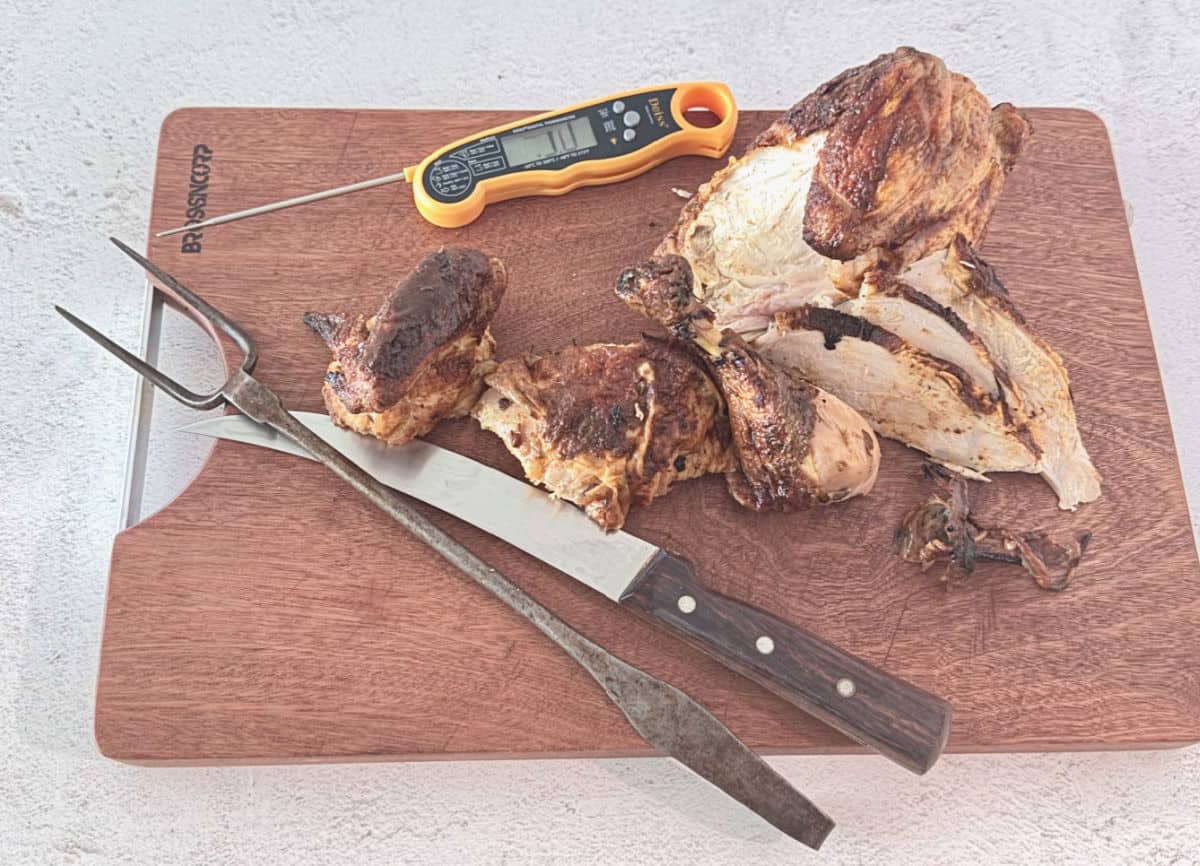
Why Make Your Own Rotisserie Chicken?
- Choose your chicken: Organic, locally raised, air-chilled, or simply your preferred brand and size.
- Season it your way: Keep it herbaceous and savory, add smoky barbecue flavor, or use any salt-free blend you love.
- Serve it truly fresh: It goes straight from the rotisserie to your table—no mystery time spent beneath supermarket heat lamps.
- Get juicier meat: Brining seasons the chicken throughout and helps protect it from drying out.
- Enjoy crisp skin: Slow rotation browns the bird evenly instead of steaming it inside a plastic container.
- Control the ingredients: You decide exactly how much salt, sugar, and seasoning goes into it.
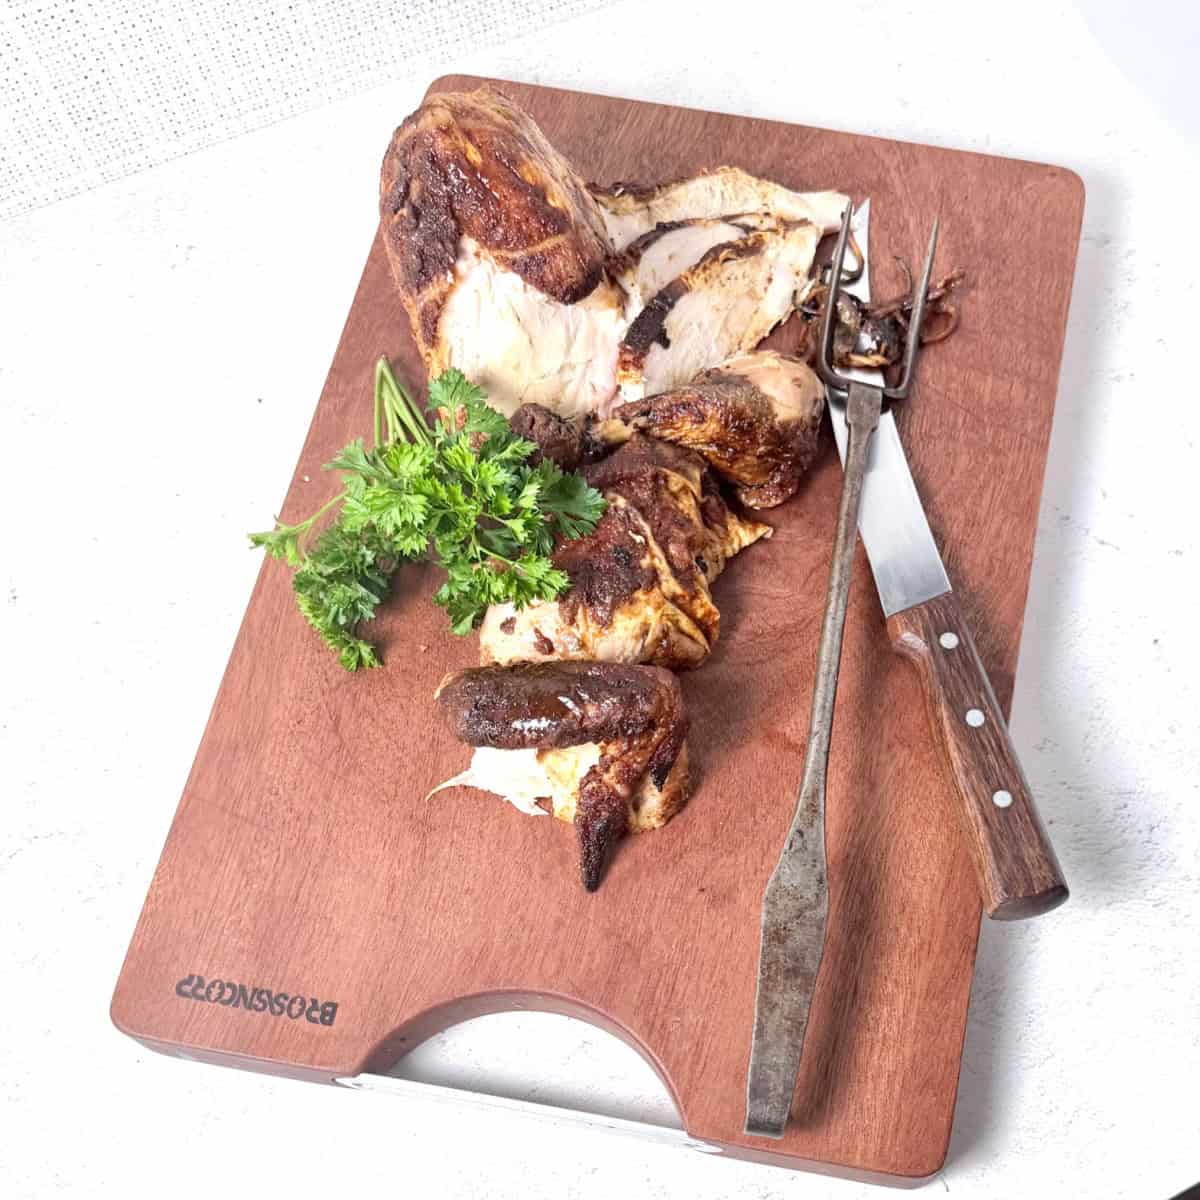
Behind the Recipe: Better Than Costco Rotisserie Chicken
There’s something special about cooking dinner outdoors, especially when the grill does most of the work. Once this chicken is brined, seasoned, and properly secured on the spit, the rotisserie slowly turns and self-bastes the bird, producing juicy meat and beautifully browned skin. You get the credit; the chicken does the work. I like that.
The “better than Costco” name came from a visit with my father-in-law. When I served this chicken, he looked genuinely surprised.
“You made this? I thought you could only get rotisserie chicken at Costco.”
Yes, you can make it yourself—and you can choose the chicken, control the seasonings, and serve it fresh and hot from the grill.
I did learn one important lesson the hard way: tighten those rotisserie prongs. Once, the spit was turning but the chicken wasn’t. Fortunately, I caught it before one side burned while the other remained raw. Now I watch the first few rotations to make sure the spit and the chicken are moving together.
The other secret is brining. I usually place a fully thawed chicken in the brine first thing in the morning, refrigerate it for up to eight hours, and have it ready for the rotisserie by dinnertime. It’s a simple step that makes an enormous difference in the flavor and juiciness of the finished chicken.
Jump to:
Better than Costco Easy Rotisserie Chicken
Equipment
Ingredients
For the Brine
- 2 quarts cold water, divided
- ½ cup kosher salt
- ½ cup granulated sugar
- 1 large lemon halved
- 2 large sprigs of fresh thyme
- 1 sprig rosemary
- 1 bay leaf torn
- 12 whole black peppercorns
For the Chicken
- 1 whole chicken, 4 - 5 pounds
- freshly ground black pepper
- Salt free herb blend or seasoning of choice
Instructions
Make the brine
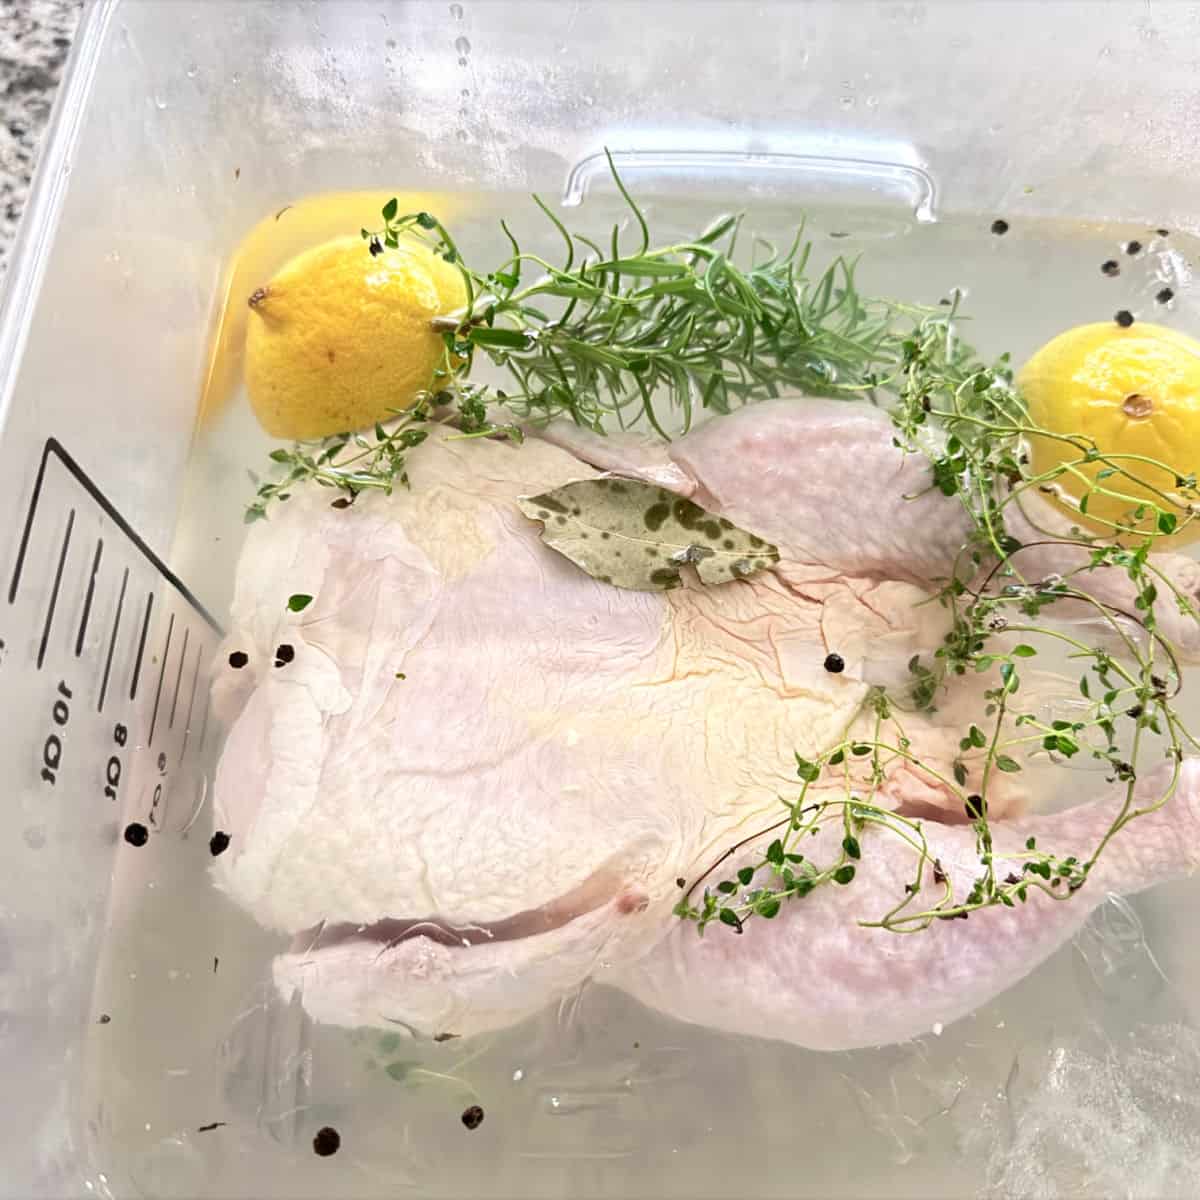
- Place 1 quart of the water in a large, deep container. Add the kosher salt and sugar and stir until dissolved. Squeeze in the lemon juice, then add the lemon halves, thyme, rosemary, bay leaf, and peppercorns. Add the remaining quart of cold water.
Brine the chicken
- Remove the giblets and trim away any excessive fat. Submerge the chicken in the brine, breast-side down. Refrigerate for up to 8 hours.
Prepare the grill
- Set up the grill for indirect heat and preheat it to 325–350°F. Position a drip pan beneath the area where the chicken will rotate.
Prepare the chicken
- Remove the chicken from the brine; do not rinse it. Pat it thoroughly dry inside and out. Thread it onto the rotisserie spit, secure both sets of prongs firmly, tuck the wings behind the back, and tie the legs together with kitchen twine.
Season
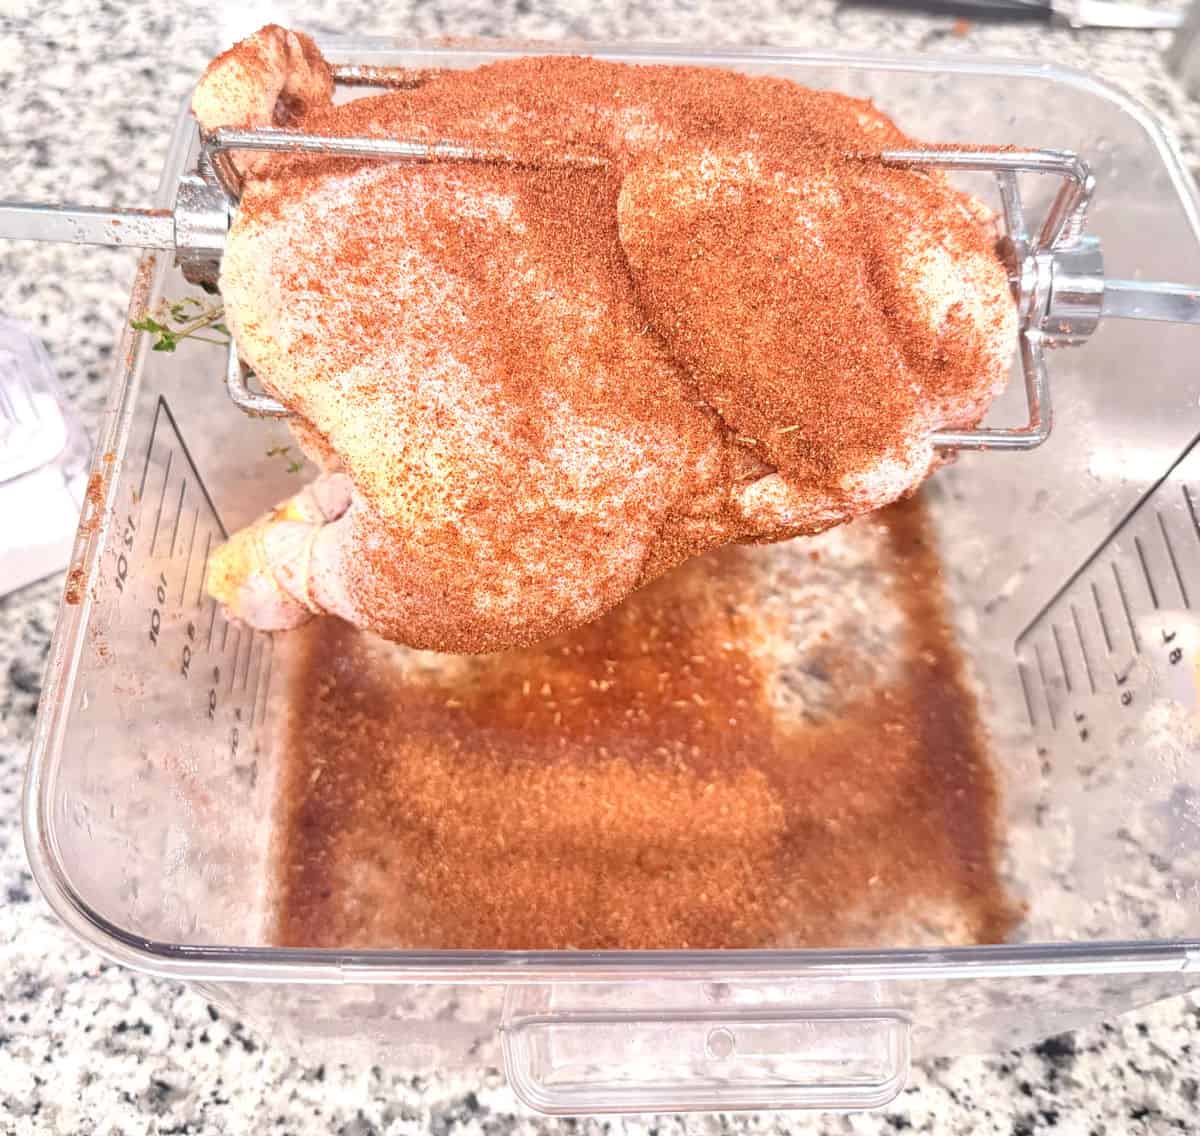
- Season the chicken all over with black pepper and a salt-free herb blend. Because the chicken has been brined, it shouldn’t need additional salt.Cook: Attach the spit to the rotisserie and start the motor. Cook over indirect heat for 60–90 minutes, keeping the grill between 325°F and 350°F. Check occasionally to make sure both the spit and the chicken are turning smoothly.
Check for doneness
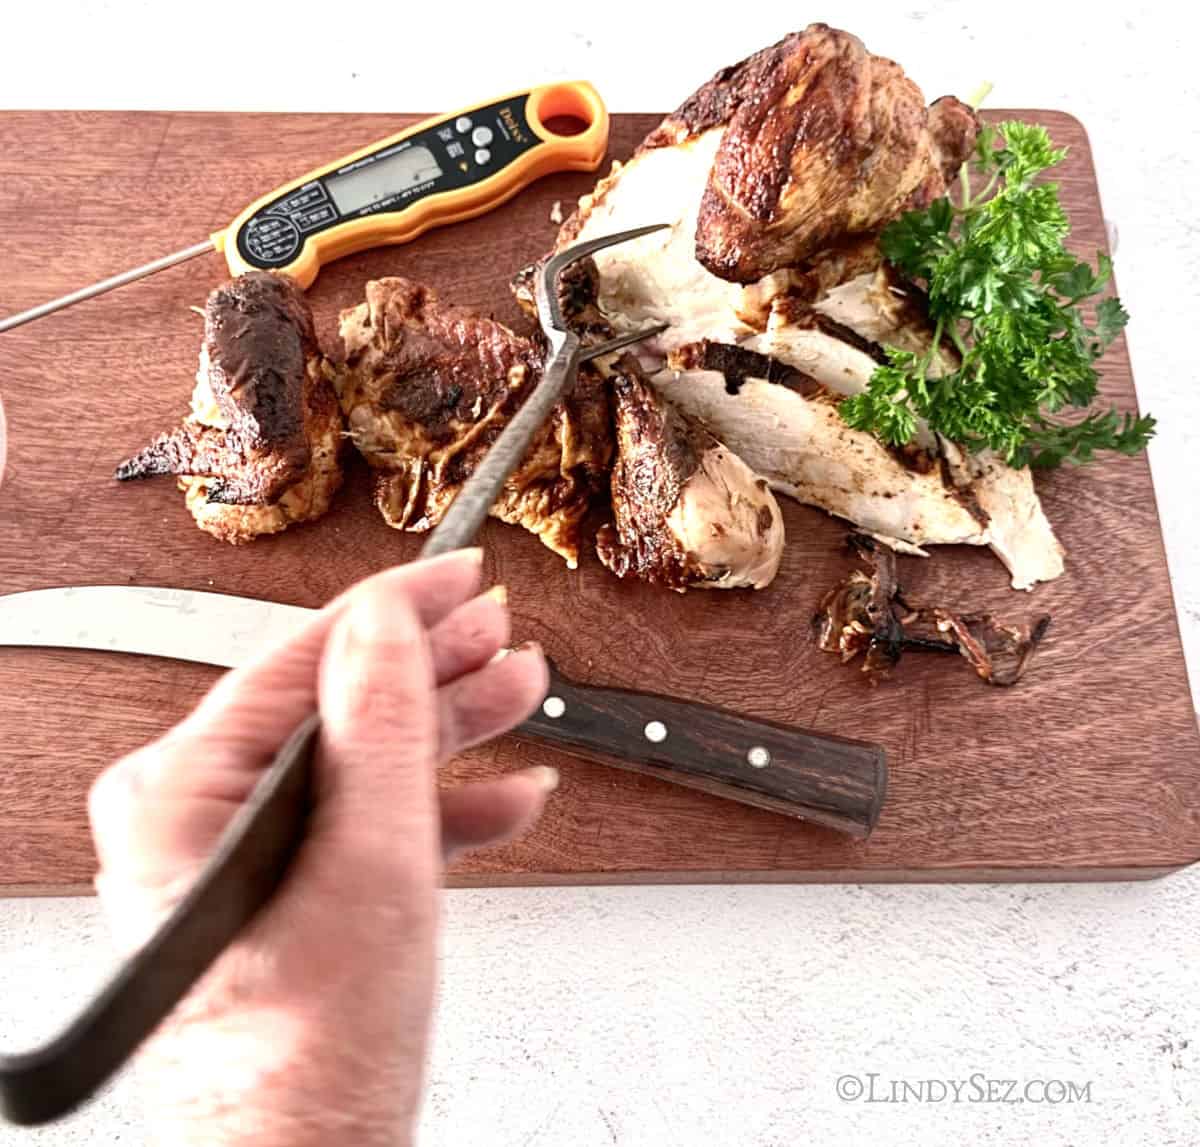
- The chicken is ready when the thickest part of the breast reaches 165°F and the thigh reaches 170–175°F. Avoid touching bone when inserting the thermometer.
Rest and carve
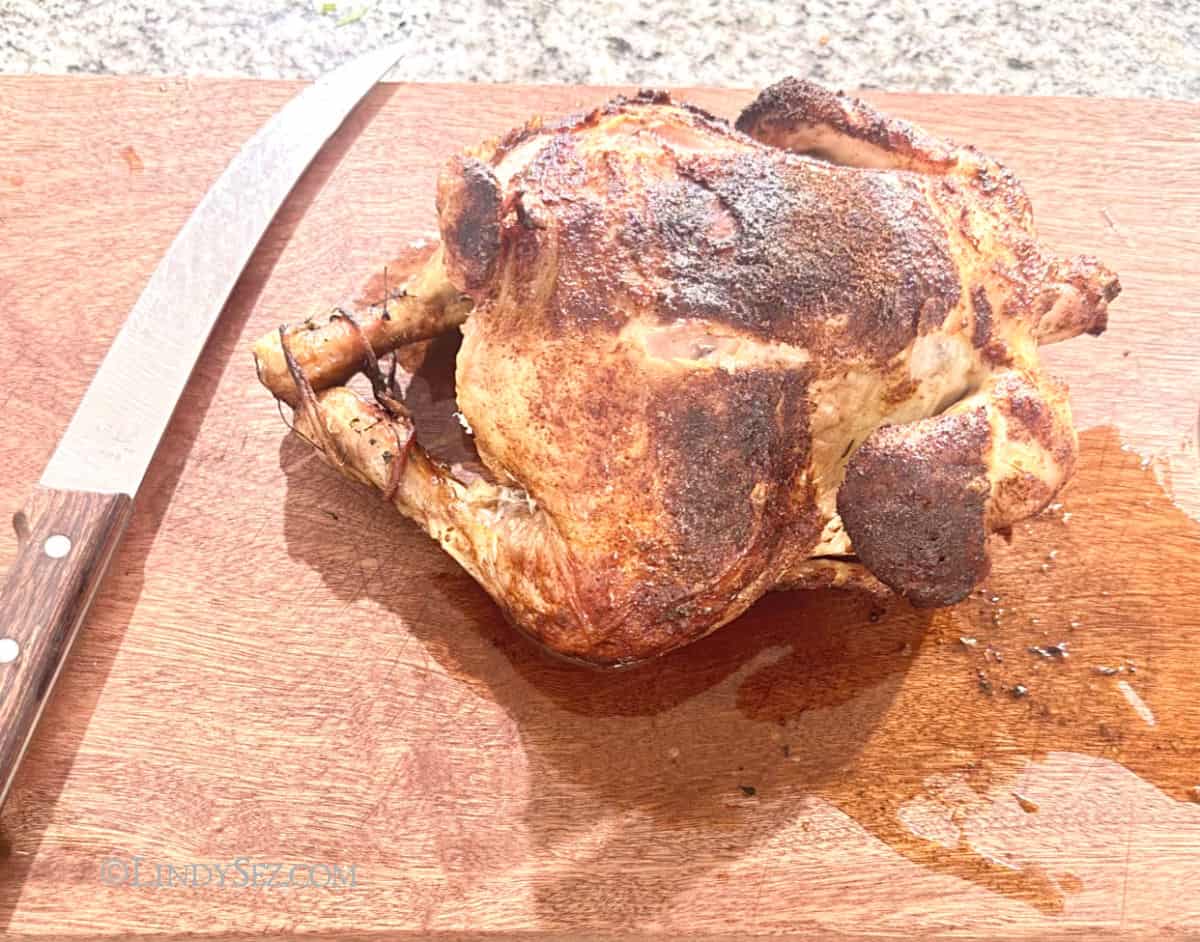
- Wearing heat-resistant gloves, carefully remove the spit from the grill. Transfer the chicken to a cutting board and remove the spit. Rest for 15 minutes before carving.
- LindySez: This is one time you may want to eat the skin—it’s crisp, deeply seasoned, and one of the best reasons to make your own rotisserie chicken.
Notes
Recipe Notes
- Check the label: Don’t brine a chicken labeled enhanced, self-basting, or contains a solution; it may become overly salty.
- Use the right salt: This recipe uses ½ cup (about 70 g) Diamond Crystal kosher salt. Other kosher salts are denser, so substitute by weight—not volume.
- Dry skin browns best: Pat the chicken very dry after brining. For even crisper skin, refrigerate it uncovered for 1–4 hours before cooking.
- Skip additional salt: Use black pepper and a salt-free herb blend after brining.
- Center the chicken: Position it evenly on the spit and tighten the prongs securely so the chicken rotates smoothly without straining the motor.
- Cook over indirect heat: Keep the burners or coals away from directly beneath the chicken and place a drip pan below it to prevent flare-ups.
- Cook by temperature, not time: Chicken size, grill temperature, and outdoor conditions affect cooking time. Check both the breast and thigh with an instant-read thermometer.
- Watch the first few rotations: Make sure the spit is turning—and that the chicken is turning with it. We know why this note is here. 😏
Nutrition
Why Brining Makes a Better Rotisserie Chicken
Brining is the secret to a rotisserie chicken that remains juicy from the first slice to the leftovers.
My simple brine combines kosher salt and sugar with lemon, thyme, rosemary, bay leaf, and peppercorns. The salt seasons the meat beyond the surface and helps it retain moisture as it cooks. The sugar balances the salt and encourages browning, while the lemon and herbs add a light aromatic flavor.
Always begin with a fully thawed chicken and a completely chilled brine. Keep the chicken submerged and refrigerated for up to eight hours—never brine it at room temperature.
When you’re ready to cook, remove the chicken from the brine without rinsing it. Pat it very dry, inside and out. A dry surface is essential for beautifully browned, crisp skin.
Secure and Season the Chicken
After removing the chicken from the brine, pat it thoroughly dry inside and out. Thread the chicken onto the spit, position it in the center, and press the rotisserie prongs firmly into both ends of the bird. Tighten the screws securely.
Tuck the wings behind the back so they don’t flop or burn, then tie the legs snugly together with kitchen twine. Give the spit a turn by hand to make sure the chicken is balanced and rotates smoothly.
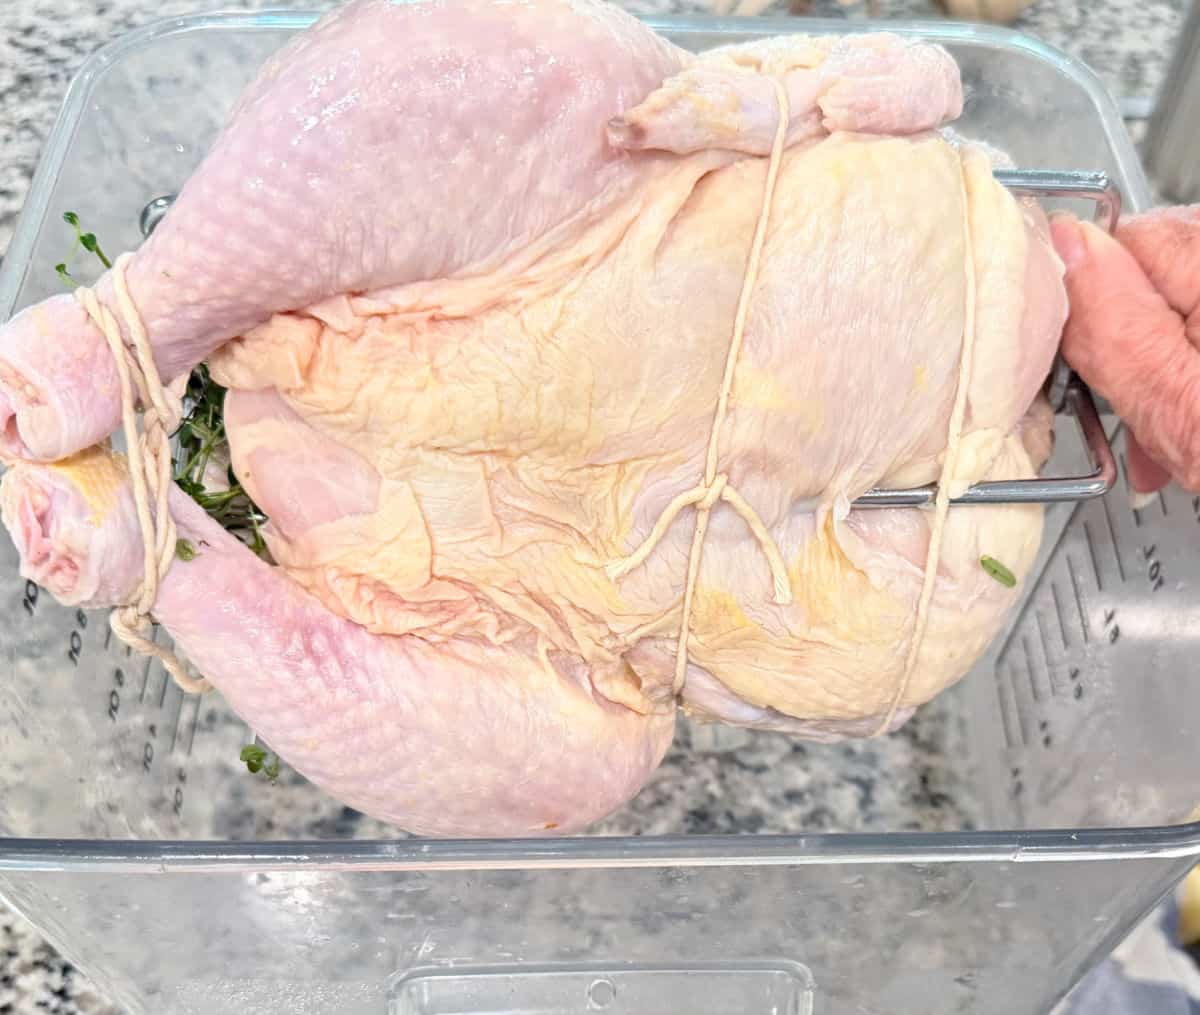
Here’s my favorite trick for seasoning it: empty the brining container, then rest the loaded spit across the top. The container supports the chicken while keeping it elevated, and you can rotate the spit to season every surface without setting the bird down or knocking off the herbs.
Because the chicken has been brined, it shouldn’t need additional salt. Season it all over with freshly ground pepper and Herbs de Provence, Italian seasoning, a salt-free barbecue rub, or your favorite salt-free blend. No oil is necessary—the chicken will baste itself as it turns.
Cooking the Chicken on a Rotisserie
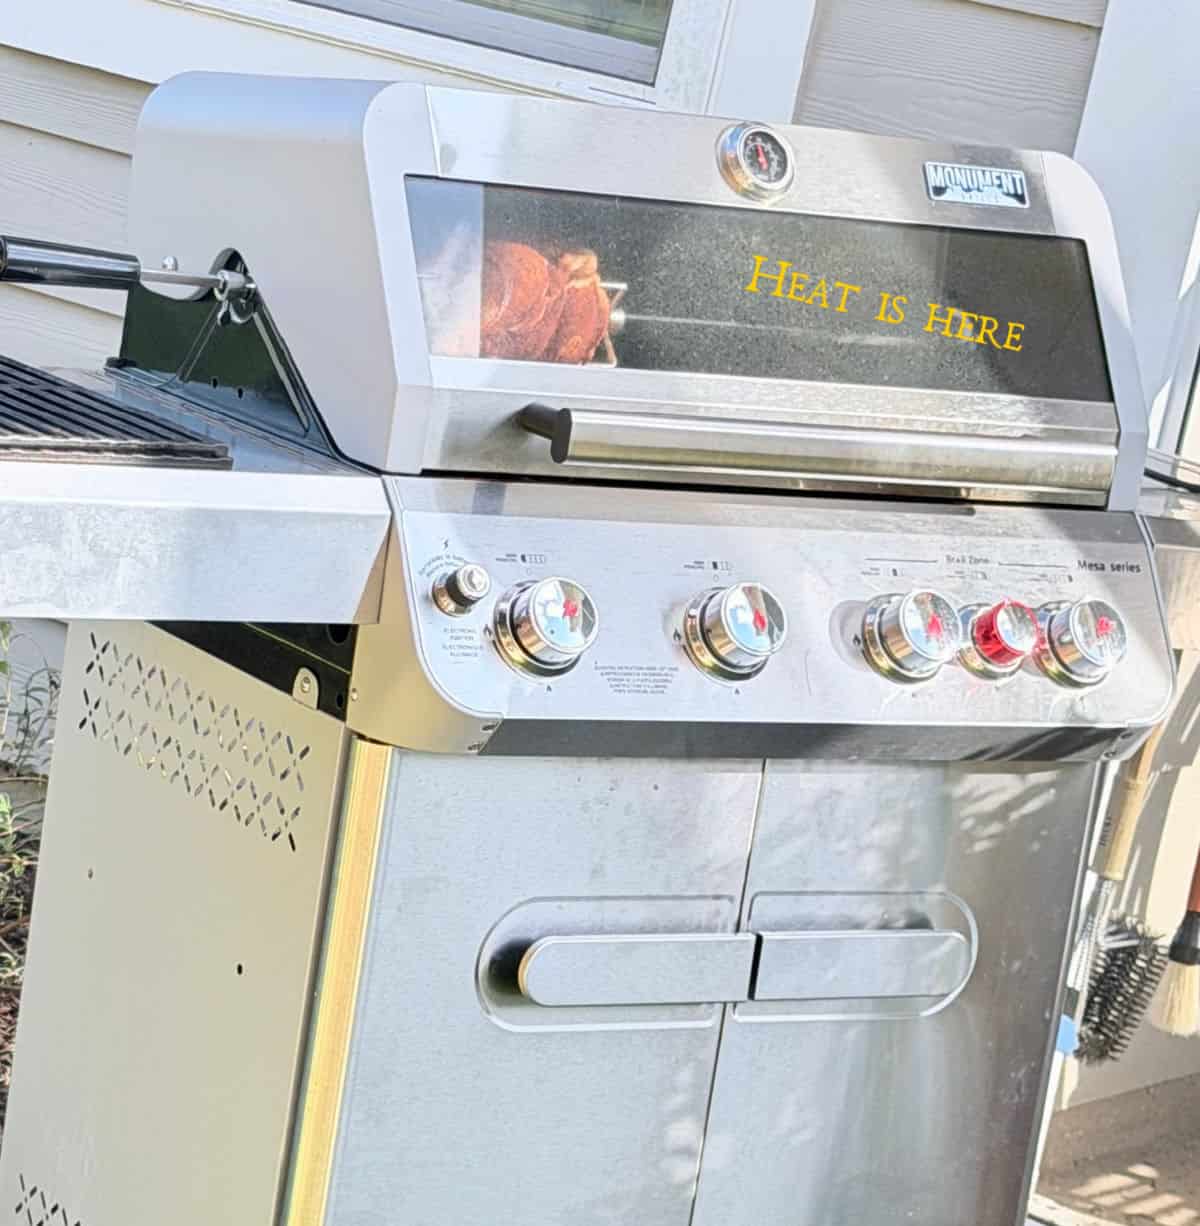
Set up the grill for indirect heat, with no active burner or hot coals directly beneath the chicken. Place a drip pan underneath to catch the rendered fat and help prevent flare-ups.
Maintain a grill temperature between 325°F and 350°F. The slow, steady rotation allows the chicken to baste in its own juices while the skin browns evenly.
Depending on its size and your grill, the chicken will take approximately 60–90 minutes. Cook until the breast reaches 165°F and the thickest part of the thigh reaches 170–175°F. Let it rest for 15 minutes before carving.
If using a countertop rotisserie, follow the manufacturer’s directions for positioning, temperature, and cooking time, then use the same internal temperatures to determine doneness.
Tips for Success
Choose the proper chicken: Avoid brining a bird labeled enhanced, self-basting, or contains a solution.
Dry it thoroughly: Moisture left on the skin works against crispness.
Secure it tightly: Center the chicken, tighten the rotisserie prongs firmly, and watch the first few rotations to confirm that the chicken—not merely the spit—is turning.
Trust the thermometer: Cooking time is only an estimate; temperature determines when the chicken is ready.
FAQs
Yes. Prepare, brine, secure, and season the chicken as directed, then cook it according to your rotisserie manufacturer’s instructions. Be sure the chicken fits within the machine’s size and weight limits and can rotate freely. Always determine doneness with a meat thermometer.
Yes, although it won’t self-baste as it would while turning. Place the chicken breast-side up on a rack in a shallow roasting pan and roast at 350°F until the breast and innermost thigh reach at least 165°F. Let it rest for 15 minutes before carving.
Very cold—40°F or below. I dissolve the salt and sugar in part of the water, then add ice and the remaining cold water before adding the chicken. The ice should replace some of the recipe’s measured water, not be added on top of it. Keep the chicken refrigerated throughout the entire brining time.
Can I brine the chicken for more than a day?
I don’t recommend it. With this fairly strong wet brine, 8 hours is ideal and 12 hours should be the maximum. Longer brining can make the chicken overly salty and give the meat a soft, slightly cured texture. If your schedule changes, remove the chicken from the brine, pat it dry, and refrigerate it uncovered until you’re ready to cook—it will also help crisp the skin.
You can, but why? It takes only a few minutes to prepare, works hands-off in the refrigerator, and makes the chicken noticeably juicier and more flavorful. If you do skip it, season the chicken with salt as well as your chosen herbs or spices
Remove the meat from the bones and refrigerate it in a shallow, airtight container within two hours of cooking. Use it within 3–4 days, or freeze it for up to 4 months for best quality.


Susan | LunaCafe says
Ohhh the luxury of having a rotisserie. Love this, and I can smell the delicious aroma from here. 🙂
LindySez says
I've bought the rotisserie attachment for all of my grills since I first bought a grill that held one. Not so expensive and I love cooking, not only chicken, but roasts on it. LOVE the self-basting. Cheers